The Assistants section of the AI Concierge Portal is where you create and manage your AI assistants.
The Assistant Dashboard #
This is the first page you see when you’ve clicked the AI Assistant section. This will show all of the AI assistants that you have built on your account.
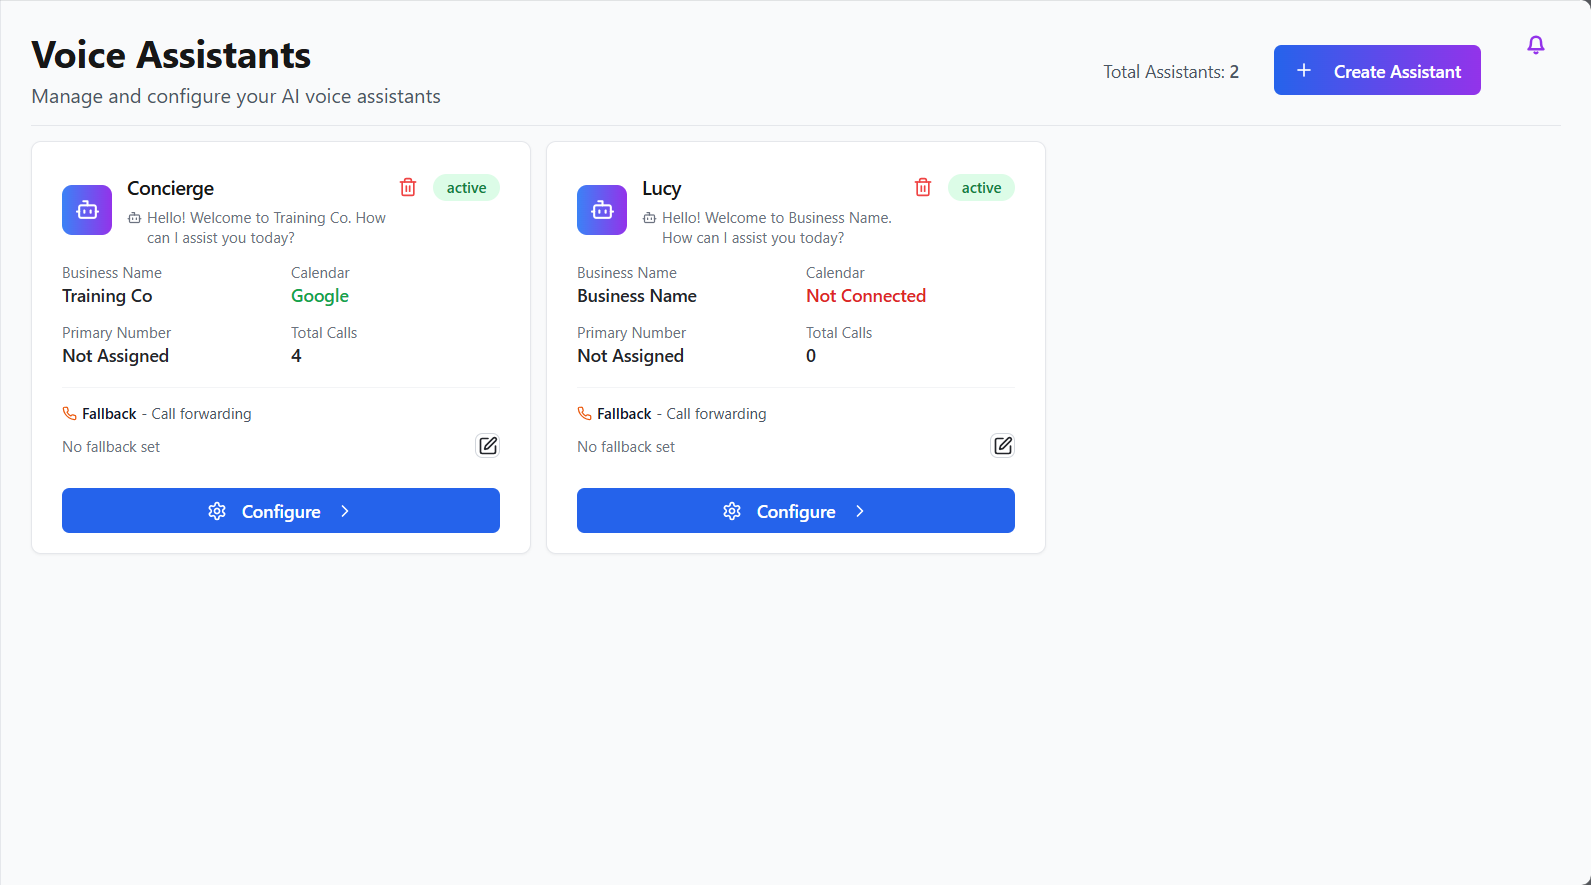
To create a new assistant, click the + Create Assistant button in the top right.
Click Configure to access more information and options for a particular assistant. There are three pages for each assistant, which are outlined below.
Assistant Details #
This section provides you with details on the AI assistant’s performance, as well as a range of settings to configure.
- The first section has Business Name and Assistant Name fields that can be edited to personalise your assistant. Type the Business Name and Assistant Name you want in the respective text box, then click the edit button (the paper and pencil icon) to save the change.
- Next to this is the First Message section, which allows you to customise the initial greeting message used to welcome callers. Click the edit icon to add and save your new welcome message.
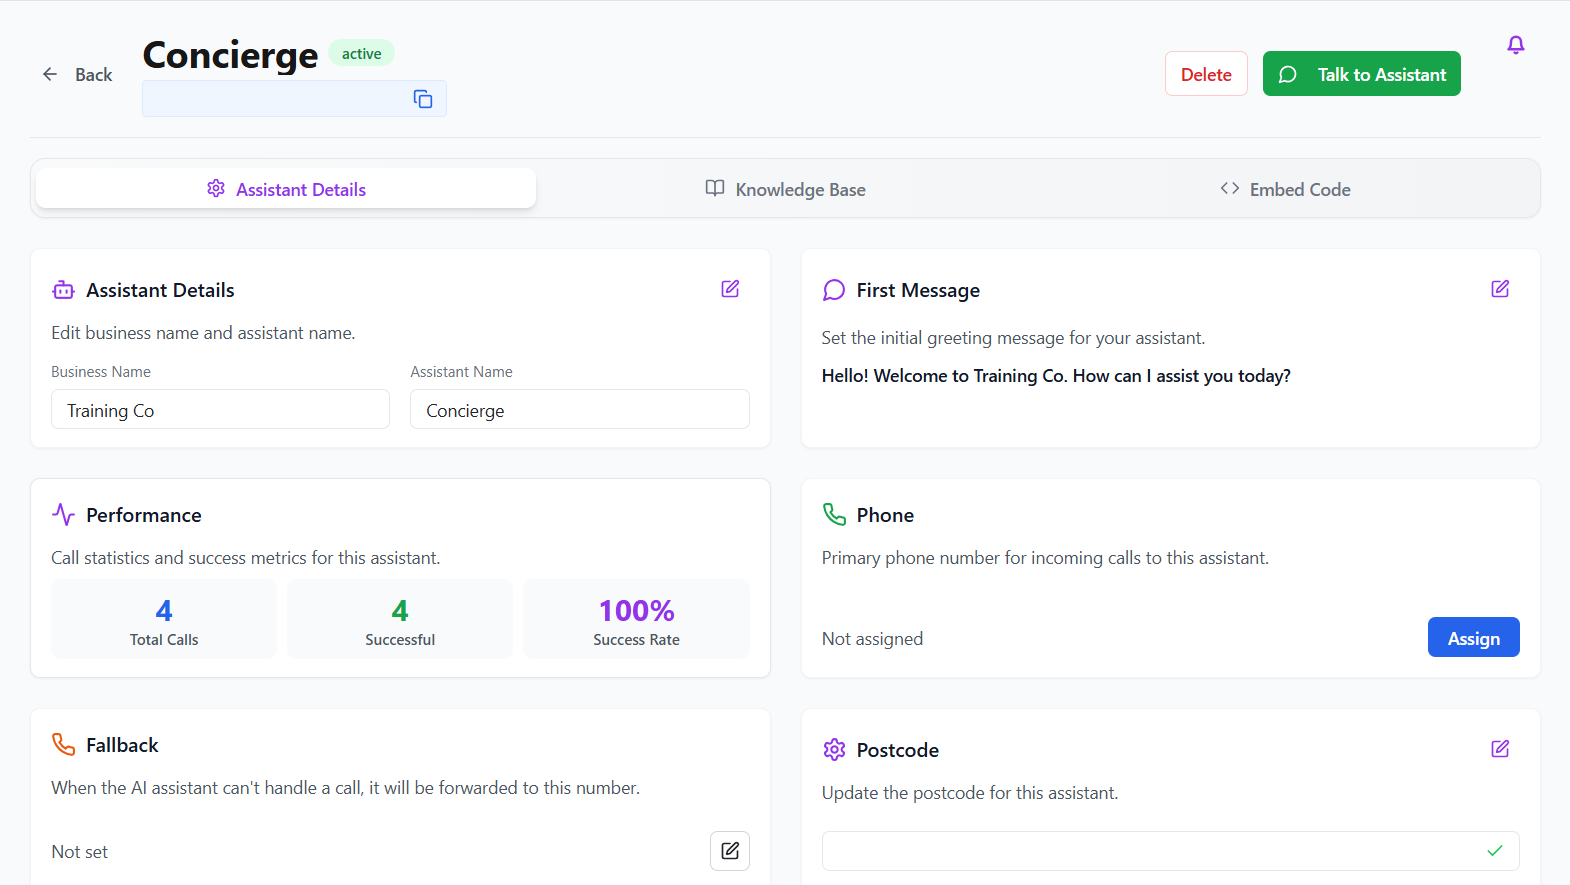
- The percentage of successful calls with this specific assistant can be tracked within the Performance section.
- Click Assign to create and attach a new number to the AI assistant. You can then point the customer’s public number to the AI assistant so that they answer all incoming calls or utilise an IVR to specify the calls it will handle. This could be calls for a particular department or team, for example.
- If you want the assistant to be able to route calls it cannot handle to an alternative number, the use the Fallback section. Press the edit icon to add a number.
| Please note: The fallback number will be used should the customer reach their monthly minutes cap (including their percentage amount, if enabled). To ensure business continuity this must be filled in with a relevant number. |
- You can link the postcode for the business’ address to the AI assistant via the Postcode section.
- The Calendar toggle allows you to enable calendar integration and configure these settings. First you will choose the specific calendar service, then the specific preexisting calendar in that service. Alternatively, you can create a new calendar to use exclusively for bookings via your AI assistant.


- The final section of this page allows you to choose the voice for your AI assistant.
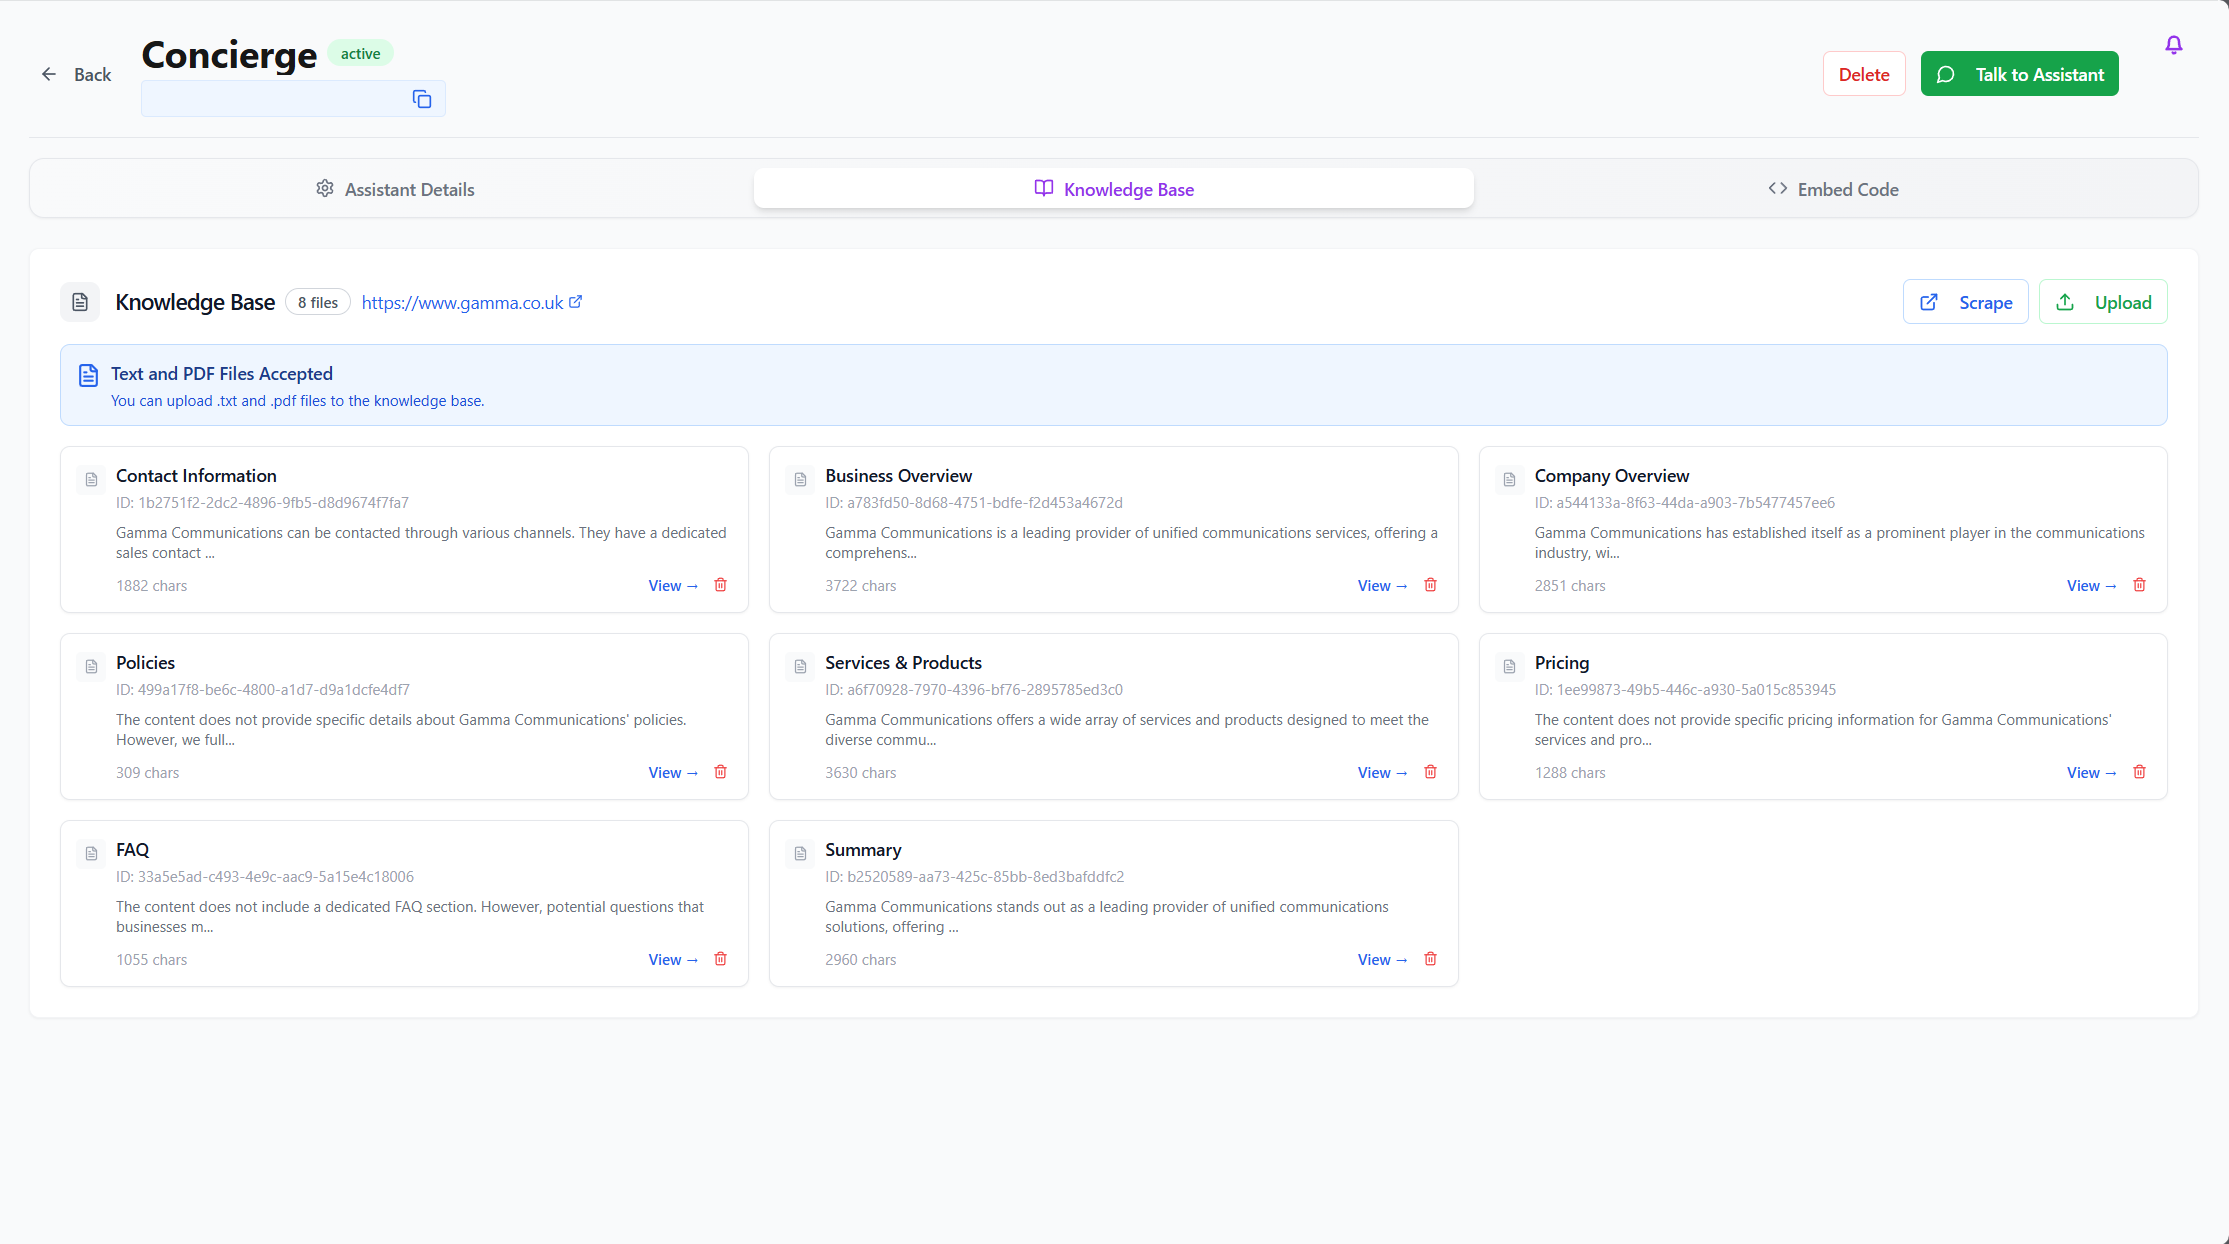
Knowledge Base #
The Knowledge Base section will show the results of the initial data scrape and compile the discovered information into categories.
- You can view each category and edit the information within as needed. Click View on the information you wish to change, then Edit, then save your changes.
- You can also scrape additional URL here, though please note they must be from the same domain as the original site.
- Finally, you can upload text and PDF files to the Knowledge Base, which will be scanned for further information and used when answering calls.
Embed Code #
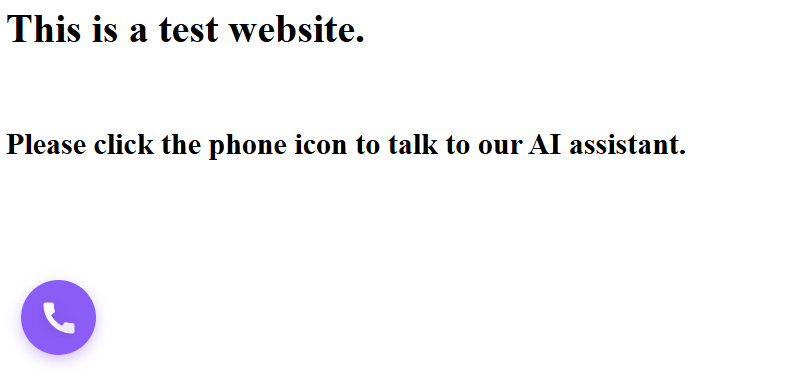
You may wish to include the AI assistant as part of your website. You can do this by embedding the code displayed on this page.
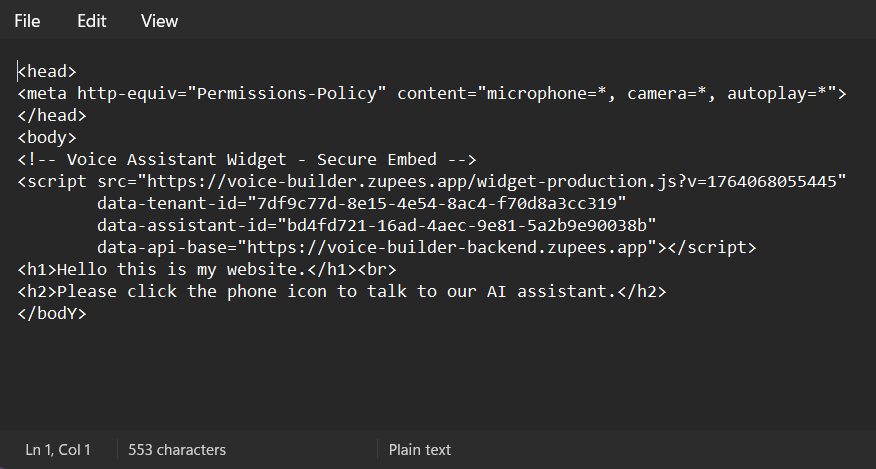
- Click Copy Code to obtain the embed script, then add the code to your site’s body section of the HTML page.
- You may also need to add the permissions policy for audio and microphone use in the HTML header section.
- It is important to note that the AI assistant will only work on secure websites (those that use HTTPS standard).