
What are the Custom Fields? #
Custom Fields can be used, for a customer to add contextual details to their numbers, to aid usability and management of the numbers and various aspects of the service including call plan management or statistic reporting.
For example, if you have lots of numbers on your account, you could add; user info, site info, department or function info etc. etc.
This data will then be presented in your statistic reports to allow you to produce meaningful performance reporting.
Creating Custom Fields #
Your profile will need to have access to the Advanced Statistics and Point my Number section to gain access to the Custom Fields.
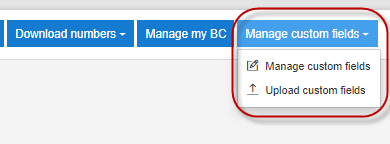
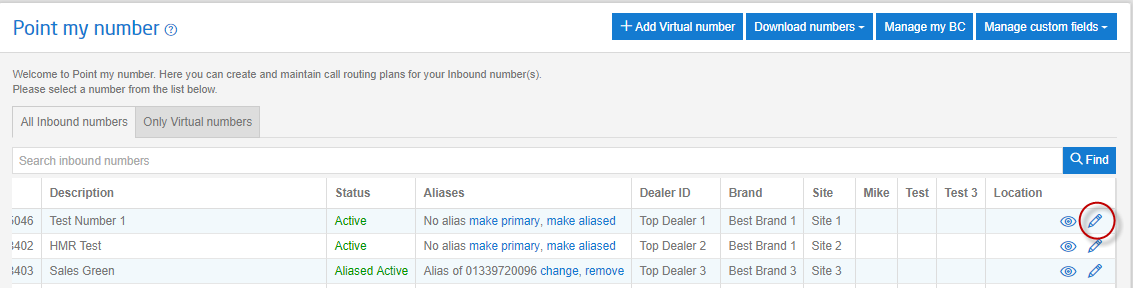
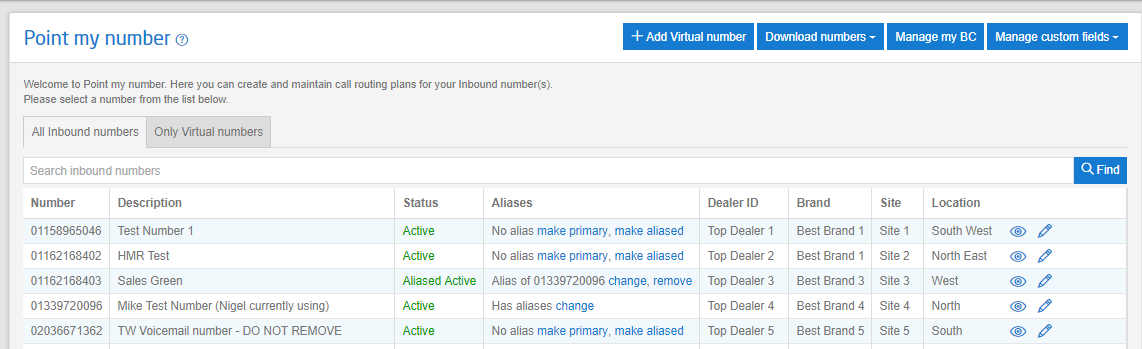
Log into the portal and go to the ‘Point my Number’ screen. Here you will see the following two buttons:
Manage Custom Fields allows you add, modify and delete a custom field

Download Numbers allows you bulk populate the custom field using a CSV template file

Create a New Custom Field #
Select Manage Custom Fields and then select Manage Custom Fields
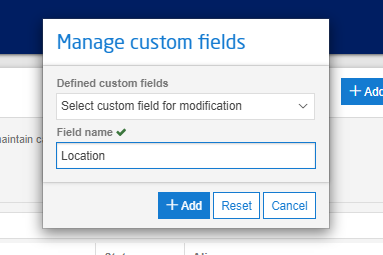
You will be presented with a dialog box. Enter the name of the new custom field you require and hit add. Once added to the database the Field name box will clear and you can enter further custom fields.
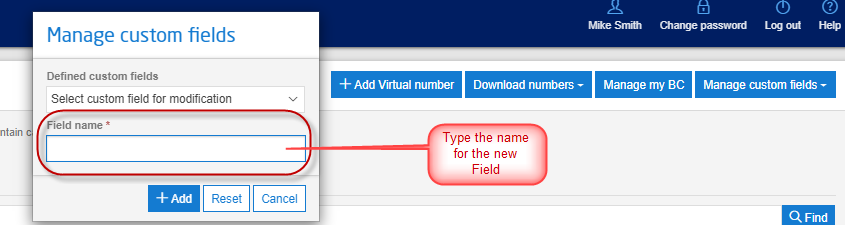
Please note it’s important that you plan the sequence in which you want to view the columns as they will be added to the point my number screen in the order in which you create them.
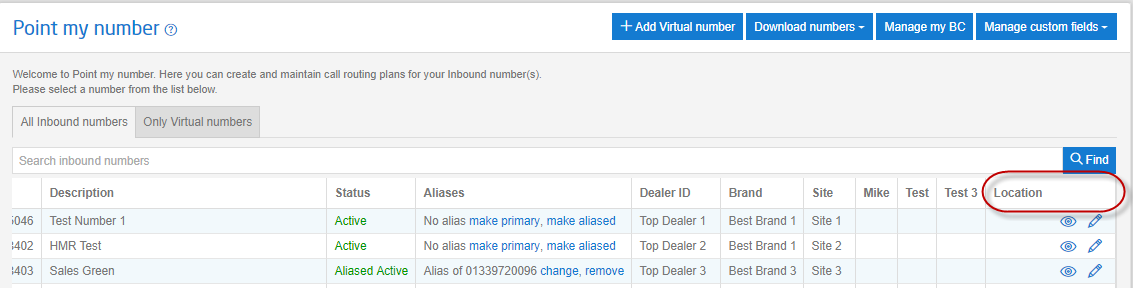
You can now go ahead and populate the field/s as required
How to Add or Edit Data for Individual Numbers in a Custom Field #
Click on the Pencil icon and then enter the information as free text on a field-by-field basis.
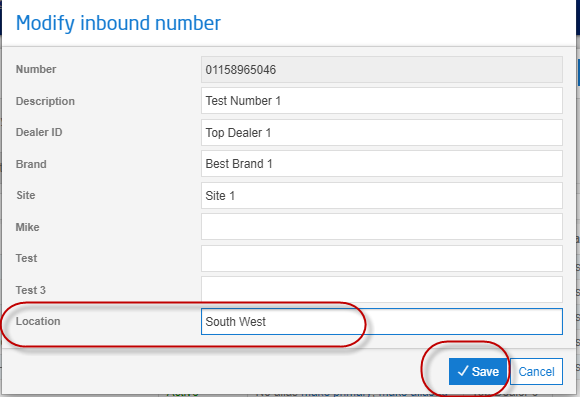
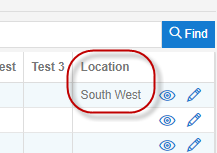
Click Save when completed, and the data will now be visible in the field.
How to Edit Data in Bulk #
Download the Template #
You can download a CSV template by selecting the Download Numbers option, on the Point My Number tab. The below pop-up box will appear and from the drop down select “Download custom fields template”.

This will download a CSV file that contains all of the numbers on the account and current Custom Fields column headers.
Please note: The header fields MUST not be modified, you can not add or delete fields on the CSV template, that should be done, using the method described above.
If you need use V-LOOKUP other for any reason temporarily add columns to import or match data, you should ensure to delete and return the columns/fields back to their original sate when you are ready to upload, or the upload will fail.
Follow the next steps to populate the template.
Update the Excel Number Formatting #
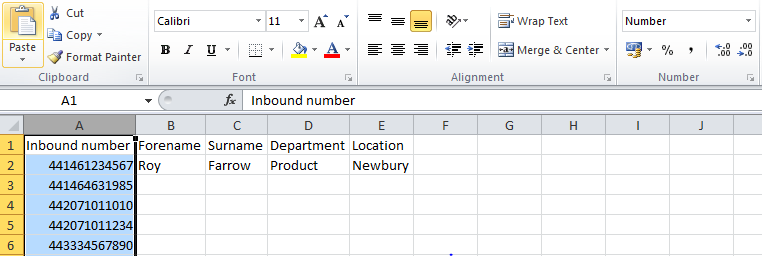
When you open the CSV file within Excel you will need to change the default data formatting for the Inbound number. The number field will be in e.164 format and will need to be changed to Number format before uploading back to the platform. See below example:
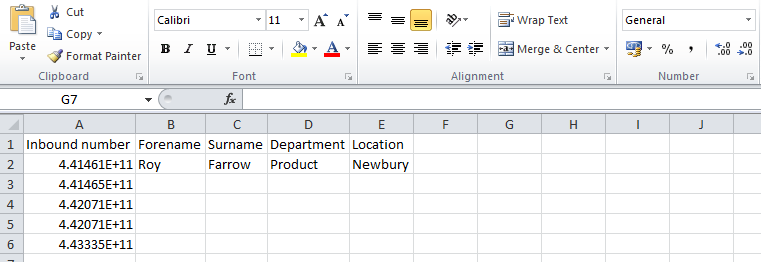
Highlight the entire Inbound Number column and change the format from General to Number, then remove the decimal places as below.
Add or Edit Your Data #
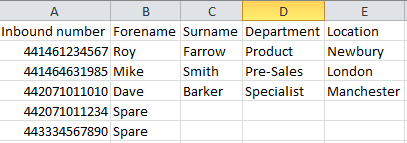
Populate the required fields with the relevant data.
Tip! Any unchanged data will be preserved. You can also populate the Description field also.
The template does not need to contain all the numbers when uploaded, so if you want to delete any that are not currently in scope to be edited/updated, you can delete the respective rows.
Save the spreadsheet, where you will be able to locate it to complete the upload. Ensure you save it in CSV format.
Upload Your New Data #
Return to the Portal “Point my number tab” and select Manage Custom Fields > Upload custom fields
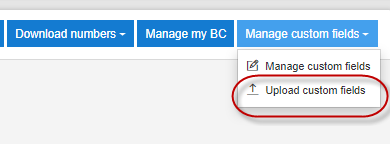
The following dialog box will be displayed.

Navigate to the location you previously saved the file, using the Select file button, select the file and click Upload.
The new data will now be uploaded to the Custom Fields.
Dataset Use #
The Custom Fields data will then appear in any Advanced Statistic or Push Reports going forward.
How to Use the Custom Fields to Search and Filter Results #
The data within the custom fields can also be used to search and filter number results on the following tabs on the portal:
Tip! The percentage % sign can be used as a ‘wild card’ before or after a search/find term.
Portal Tab | Use Case |
Welcome tab – Find field | Quickly and accurately find numbers to make changes to. |
Point my Number – Find field | Quickly and accurately find numbers to make changes to. |
Point my Number > Manage my BC – Find field | Quickly find a group of numbers that you want to invoke for Business Continuity |
Listen to my calls – Multiple Number Selection | Search for recordings on groups of numbers. |
Voicemail tab – Multiple Number Selection | Search for voicemails on groups of numbers |
Performance – Multiple Number Selection | See stats for a selection of numbers |
Advanced Statistics – Multiple Number Selection | Run stat reports for a selection of numbers. |
Event History – Multiple Number Selection | Search for change events on a group of numbers. |
Administration > User > Inbound Numbers > Available – Find field | Allocate a group or subset of numbers to a user |
LCA Limit – Multiple Number Selection | Apply the same LCA limit to a group of numbers. |
Goto Groups > +Create Goto Group > Add Find field | Find a specific number to create a Goto group for. |
