
This guide assumes some familiarity with the 3CX server. It describes a minimal configuration to get a 3CX system with no PSTN connectivity up and running with a Gamma SIP trunk.
Preparation Steps #
Network #
Please refer to your order confirmation email, which will detail IP addresses and ports required to implement the SIP trunk. Router/firewall configuration changes may be needed to allow the traffic to pass between nominated Gamma IP addresses and your 3CX server:
An example is shown below:

You will also need to refer to the 3CX Firewall and Router Configuration to setup the network for the various ports that 3CX uses.
This guide includes the additional ports 3CX makes uses of for external handsets etc. You will also find a list of commonly used firewalls with 3cx and example configurations.
Installing 3cx #
Please refer to the 3CX website for the most up to date installation guide.
The above guide will take you through the following steps, once these are completed you will be able to add your Gamma SIP trunk to the server:
- System Requirements
- Supported Operating Systems
- Supported Hardware and VM platforms
- Firewall & Network Considerations
- Other requirements
- Preparing the Windows host machine for installation
- Download and Install 3CX Phone System
- 3CX Phone System Configuration Wizard
- Logging into the 3CX Phone System Management Console
- Step 2: Activate your license
- System Prompts Language
- Upgrading from a Previous Version of 3CX Phone System
- Backup and Restore
- Scheduling a Backup
- Moving 3CX Phone System to a New Machine
Adding a Gamma SIP Trunk #
In the 3CX Phone Management console menu, select “VoIP Providers” > “Add VoIP Provider”:
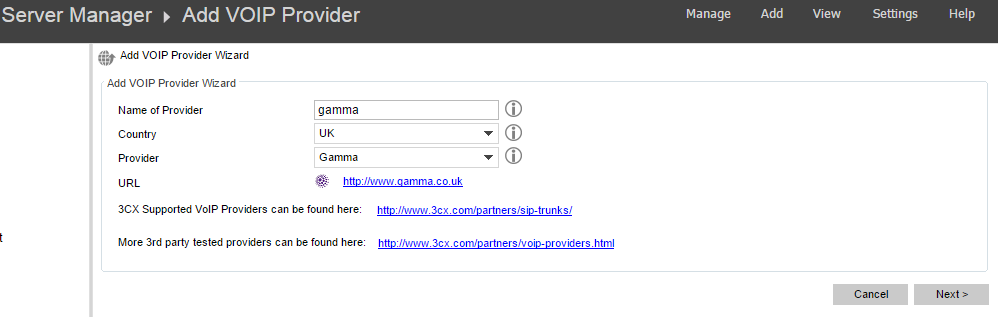
Select ‘UK’ from the country drop down and ‘Gamma’ from the provider drop down menu. You can name the trunk anything you find to be relevant. Gamma would suggest naming this using the unique reference given to your SIP trunk for future reference should you need to contact Gamma support – you can find this on the order confirmation email or by checking the order via the Gamma portal.
Click ‘next’ once complete.
Now you are required to enter Gamma’s signalling gateway address.
The SIP server hostname or IP may be pre-filled. Compare these with the details that you have received within your order confirmation email from Gamma or by checking the order directly on the Gamma portal.
The SIP server port will be populated with correct default of 5060.
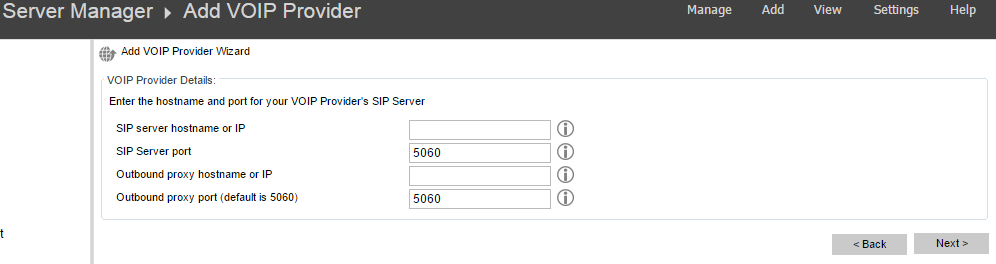
If you use an outbound proxy, you can enter this here.
Click ‘next’ to continue.
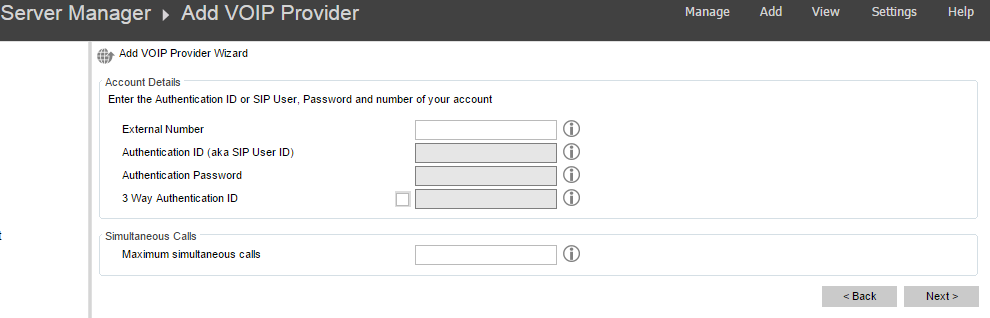
In the final step, you will be asked for an “external number” – This is only a requirement of 3CX and not used by Gamma for authentication, you can enter any DDI that resides on your SIP trunk with Gamma.
You will also be asked for your ‘Maximum simultaneous calls’ which is the number of channels you have purchased from Gamma on your SIP trunk.
Again, you can find these details on your initial order confirmation email or by checking the gamma portal.
The remaining fields should be greyed out as these are not required by Gamma. Gamma SIP trunks are authenticated on an IP basis.
DDIs and Inbound Call Configuration #
Gamma will provide you with DDI numbers. You can find a list of these on your order confirmation email or by checking the order on the Gamma portal, you will need to specify these in the DID tab. To do this:
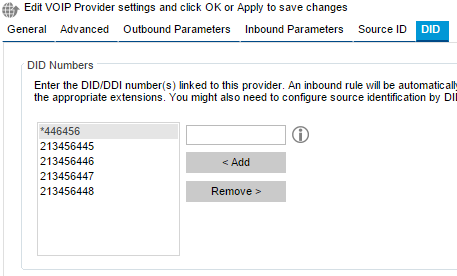
- In the 3CX Management Console, select “VoIP providers” click on the VoIP provider you want to configure.
- Click on the “DID” tab.
- Add the DID numbers associated with your account. An Inbound Rule, which can be configured at a later stage, will be created for each number specified in this list.
- You can also see the list of inbound rules by expanding the “Inbound Rules” node.
Edit Call Line Identify (CLI) Rules #
You can modify the format in which Gamma sends the CLI to your 3CX to match how you configure your inbound rules above:
Leading Zero (0207…)
No Leading Zero (207…)
E.164 Format (+44207…)
This can be done via the Gamma portal using the ‘Update CLI Rules’ action.
