
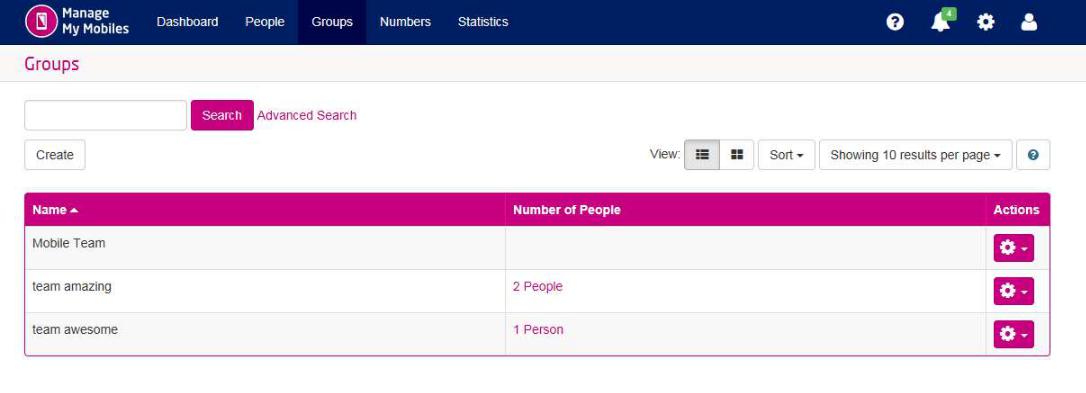
As previously mentioned when allocating numbers, you can create groups. Creating a group will allow the company to group together different departments for reporting purposes.
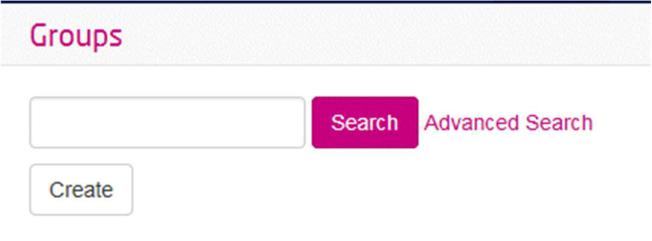
If you select Groups from the menu bar it will take you to the Groups page. On this page you will be able to view all existing groups and be able to see how many people are in each group.
Create Group #
From here you can also create a new group by clicking on the “create” button.
On the dropdown under the actions tab you are able to Rename, Delete and Manage Groups.

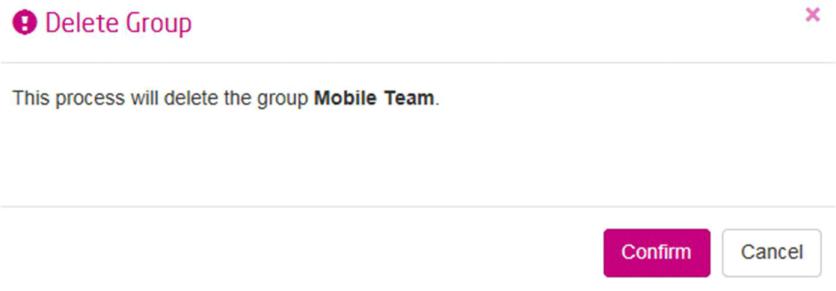
Delete Group #
Choose Delete from the dropdown under the actions tab on the group page.
If you delete a group, you will be presented with a window to confirm your selection to make sure you are certain as once a group is deleted all of the data for that group is lost.
Rename Group #
Choose Rename from the dropdown under the actions tab on the group page.
If you chose to rename a group, you will be presented with a window where you are able to manually type a group name and save.
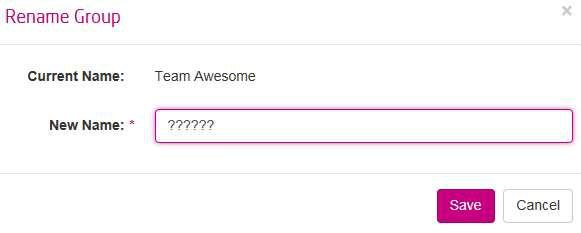
You will then be shown a green success banner to confirm this change.

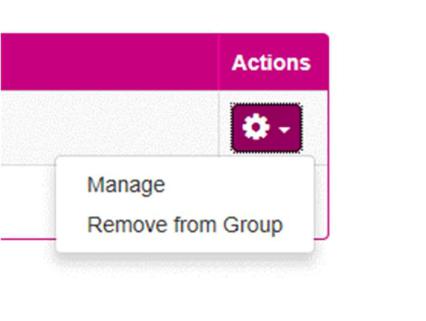
Manage #
Choose Manage from the dropdown under the actions tab on the group page.

On the Manage group window you will be able to view all people within that group.
On the dropdown under the actions tab you will be able to remove a person from a group or manage a person within the group. You also have the ability to add people to the group and move people.
Another key feature about groups is the ability to make changes at a group level, meaning that one set of changes can apply to multiple users within a group. To make changes at a group level, select manage from the dropdown under actions as shown above, this will open onto the people section within groups, if