
Please ensure you are connected to a WiFi network before undertaking this update.
Step 1
To enable Gamma settings to be loaded into you Nokia Lumia handset who will need to first ensure you have the latest OS installed
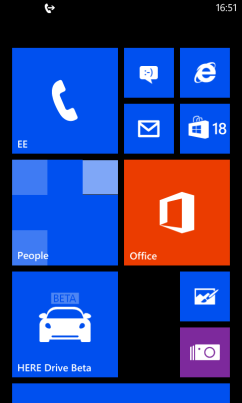
Swipe left from home screen.
Step 2
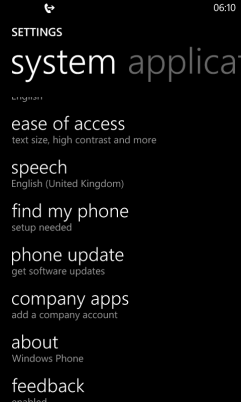
Scroll down to settings and select Settings

Step 3
Scroll down to “Phone Update” and select this option
Step 4
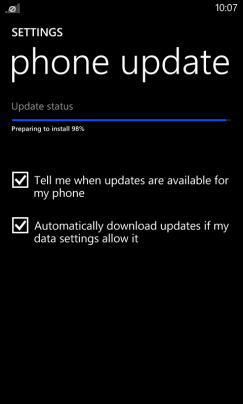
Select “Check for Updates”

Step 5
If available the latest version is not installed then this will be downloaded and your handset will be prepared for installation of update
Step 6
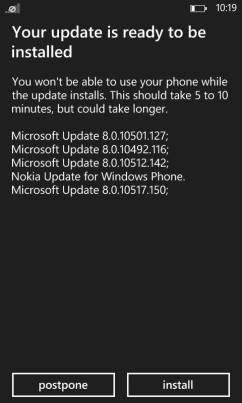
Once the handset is finished preparing you will be asked to install update. Select “Install”.
Step 7
The handset will start installing.
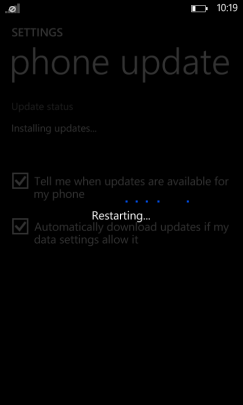
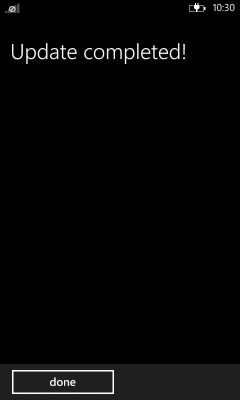
Step 8
When it has finished you’ll get a “Update Completed!” message. Click “done”.
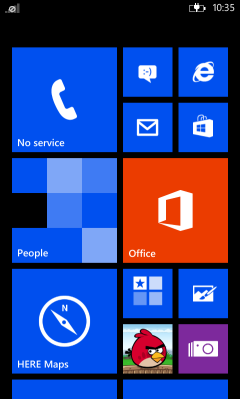
Step 9
On the front screen select “Store”
Step 10
If “Update” is an option here you should select this to download the latest access point (APN).

Step 11
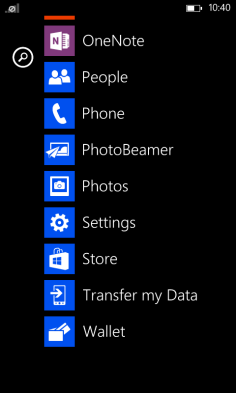
Swipe left on your handset screen.

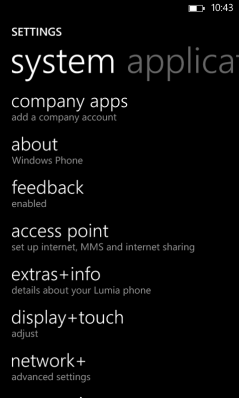
Step 12
Scroll down until you can see “Settings” and select this.
Step 13
Select “Access Point”
Step 14
Select “Gamma” and tap “Add”
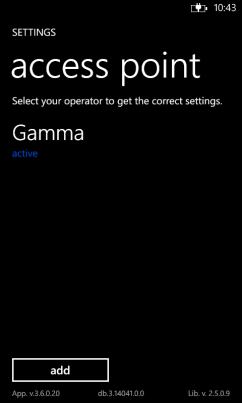
If Gamma doesn’t appear in Access Point then you should place the Gamma SIM card in a non-Nokia handset and switch on. Once the handset has fully booted up you should switch the handset off and remove the SIM card and reinsert into the Nokia Lumia. Repeat steps 11 to 14 and Gamma should now appear.