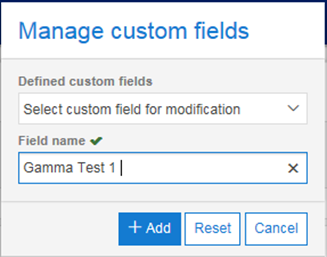
The Manage Custom Fields button enables you to create, edit and delete. Select the Manage custom fields button in order to view the pop up box, enter the title of the custom field you require and hit add. Once added to the database the Field name box will clear and you can enter further custom fields.
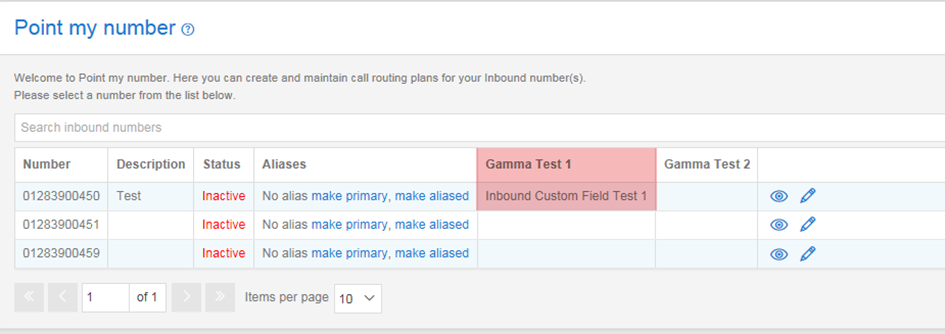
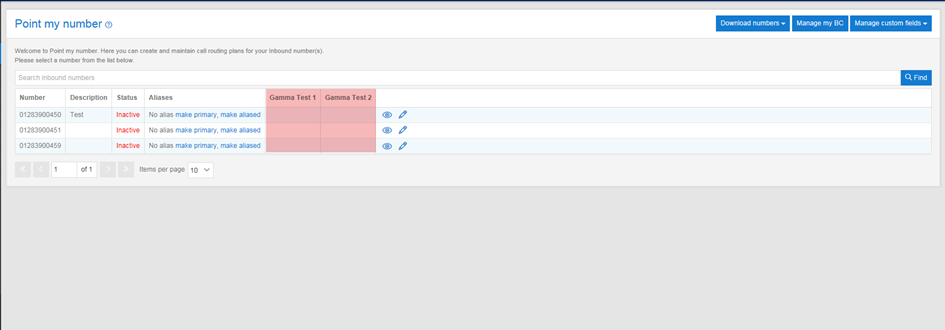
Please note – it is important that you plan the sequence in which you want to view the columns as they will be added to the Point My Number screen in the order in which you create them. If you make a mistake, you will be able to clear your created by fields by selecting them and pressing delete, meaning you can then add the fields again. In the example below, Gamma Test 1 was added first, followed by Gamma Test 2.
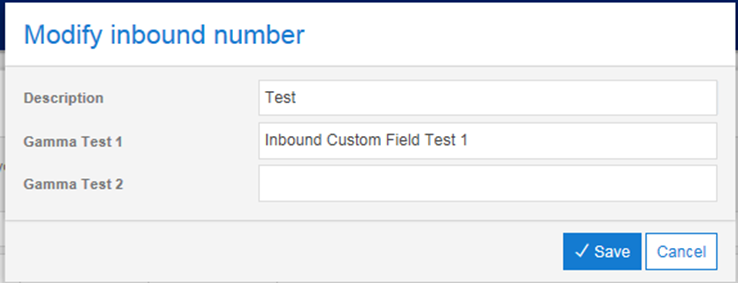
In order to enter data into any of the custom fields you have created you will need to select the modify option. Once you have selected this a pop up box will appear entitled “Modify Inbound Numbers”. In this pop up box you will see a list of all your customer fields, each with a text box next to them, the information you enter into these text boxes will be displayed against your field. In this example, for the Gamma Test 1 field I entered a value of “Inbound Custom Field Test 1”: