
Introduction #
The Horizon clients have been designed to be used in conjunction with the core Horizon service, and allow connection of either a PC desktop/laptop device, and/or connection of devices using iOS (Apple) and Android operating systems such as tablets and mobile phones.
These provide a new and exciting way of communicating with colleagues and the core Horizon service, to ensure you always maximise your productivity through managing your telephony and interactions with colleagues in the most efficient way.
The clients also provide additional features as per below and explained later in this article, through an easy to use software client:
- Soft Phone
- Management of your existing Horizon account
This article is designed to explain the core functionality of the iOS smartphone app as well as the steps required to get it installed.
Please note: there is some core Horizon functionality referenced in this document that is not explained in detail. Where further information is required on specific Horizon features or functions please reference the Horizon user guide.
Getting Started #
Minimum System Requirements #
The iPhone client is supported on the following devices:
- iPhone 5
- iPhone 5C
- iPhone 5S
- iPhone 6
- iPhone 6+
- iPhone 7
- iPhone7+
It will run on iOS 9, iOS 10 and iOS 11.
How does the client work? #
On Horizon a single user account can be used for each device. This means your user account can be shared over your IP phone, your desktop client, and mobile client if applicable. In short this means that if a call is delivered to your user account, it will access all clients attached to the service, as well as your IP phone, allowing you to take the call through a device of your choice.
Likewise if you choose to adjust call settings for your user account through the client this will then be applied, meaning implementation over both your IP phone and the Horizon web interface.
It is therefore key to remember that if you don’t want to be contacted on the Horizon client say on your desktop, but do want your IP phone to ring, that you simply log out of the client rather than implementing say Do Not Disturb (DND).
Finally, where the intention is to login to a single account with multiple devices of the same type at the same time (i.e. laptop and desktop using the desktop client, or mobile phone and tablet using the mobile client) calls will be delivered randomly to any of the logged-in devices. It is recommended that, where the intention is to use multiple devices, users must logout of each device when moving between them, so that only one device of each client type is logged-in at any one time.
Number Presentation #
Number presentation within the Horizon clients mimics that set in the Horizon system. As such if a user generates a call from the Horizon client, this will output the number presentation assigned to the users Horizon account.
An option to withhold the number for outbound calls is available within the settings.
Installation #
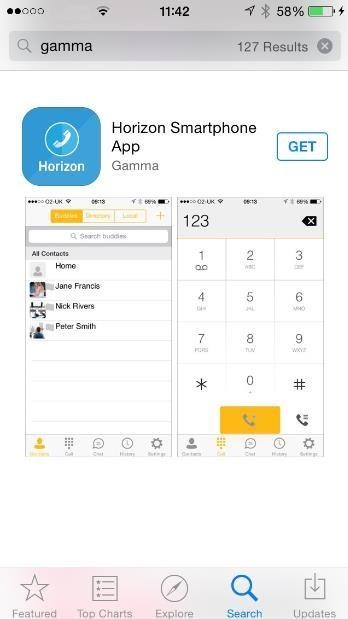
The Horizon application can be located within the Apple App Store. Search for “Gamma” and scroll down to find the Horizon Smartphone App. Click “Get” and the app will download and install.
Signing in #
Enter your client username and password – please note these are different than the Portal login details. Please speak to your Administrator if you don’t have your log in details.

The password is 35 characters long. It is recommended to copy this from the iPhone’s email.
If required you can show the password while you are typing it. You can also set the App to remember the password and sign into the client automatically when your device starts.
Basics #
The main view contains a number of tabs that present information about the contacts and communications options available as follows:
 View your buddy list, local contacts or search for directory contacts
 Make calls
 View incoming, outgoing and missed calls
 Access to Presence and Call settings, Preferences, About and Help details.
Contacts #
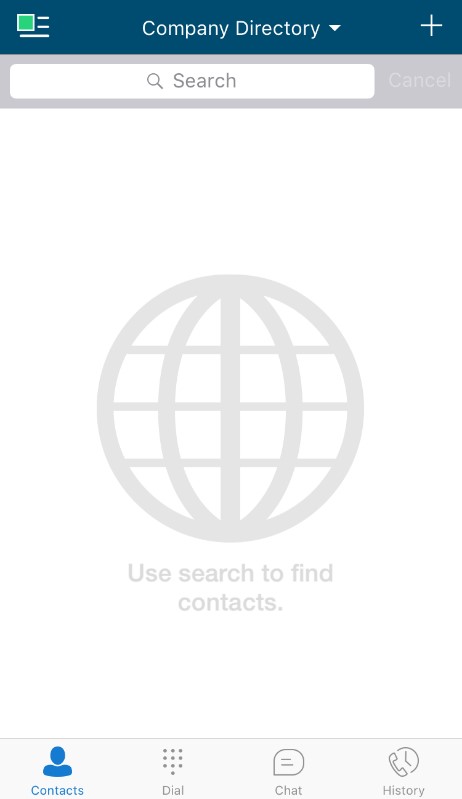
When you start the soft client for the first time, your Contacts list will be empty. There are 4 filter options available along the top of the screen;

All: These are presence enabled contacts where available, (i.e. if they are in your company directory and accept your request, you can share presence/chat with these users) or iPhone Contacts you have added to the client contact list
Online: Filter on online presence enabled contacts (i.e. if they are in your company directory and accept your request, you can share presence/chat with these users)
iPhone Contacts: These are contacts from your local phone book
Company Directory: These are contacts from a company directory
The + symbol can be used to add contacts.
Making a Call #
To make a call to one of your contacts you should tap on their name and then tap the  icon next to the number you’d like to call. This will trigger a call to this user via the Horizon platform.

Dial pad #

The dial pad allows you to enter a telephone number to be dialled. To dial out enter the number and tap the  button.
Pull/retrieve call #
Located on the bottom right of the dial pad screen, tapping the ![]() icon will give two options: pull call or retrieve call.
icon will give two options: pull call or retrieve call.
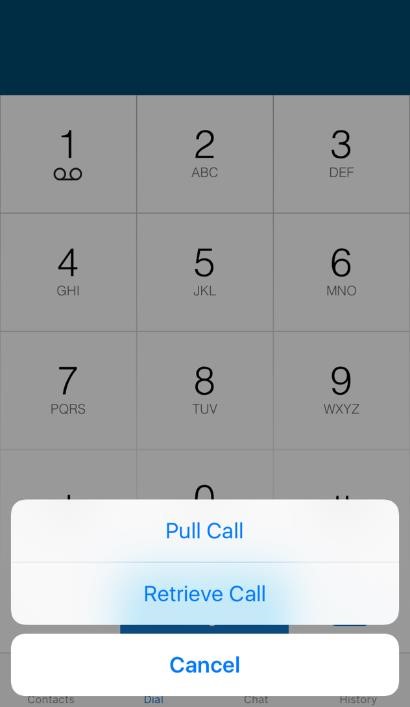
Pull call: Take over a live call from another device,
Retrieve call: Retrieve a parked call
History #
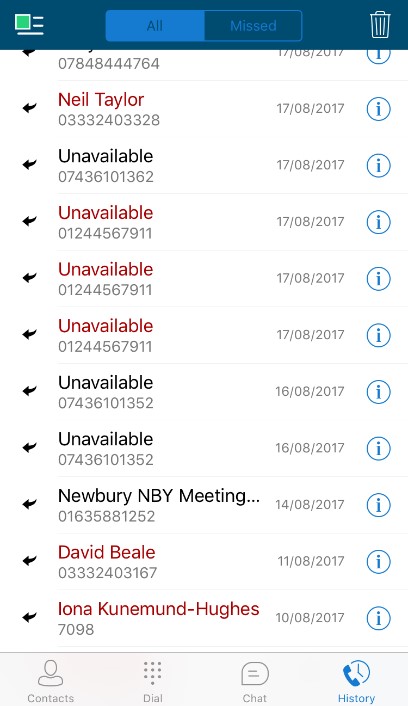
The history tab will show your call log. Using the filters along the bottom you can view all calls, missed calls, received calls or outgoing calls.
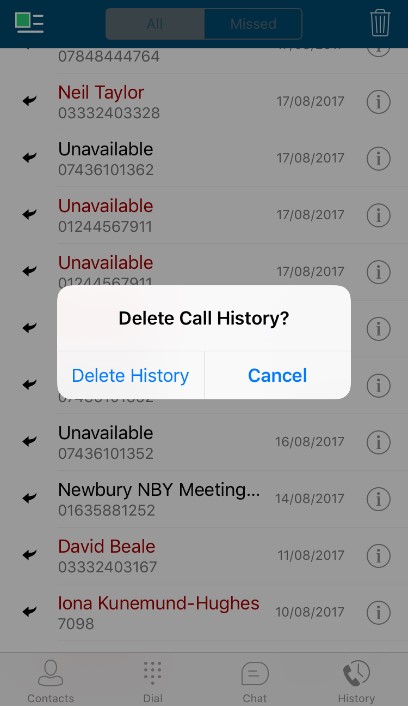
You can tap the ![]() icon (top right) which will give you the option to delete your call logs.
icon (top right) which will give you the option to delete your call logs.
Settings #
Settings can be accessed by tapping the  (green square with 3 horizontal lines) icon in the top left hand corner of the app’s top menu bar the menu bar.
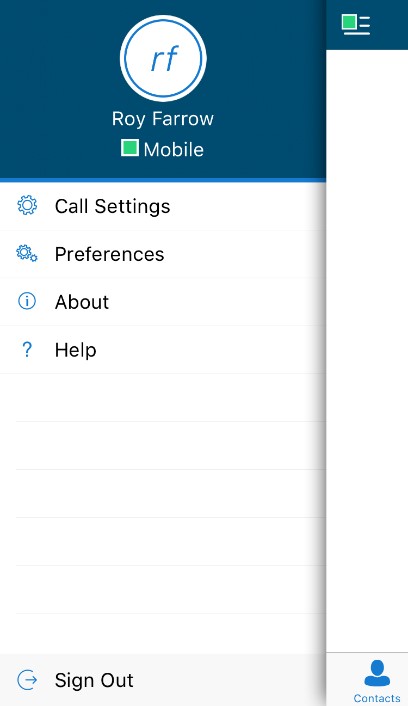
Here you can change some of the initial settings – if you’d like your password to be remembered and if you’d like the app to sign you in automatically.
Call Settings #
You can control a number of settings from within the app. As detailed in the How does the client work? These settings will be synchronised with your account – so it’s worth remembering that it will impact any other phones or clients you have when you change these.
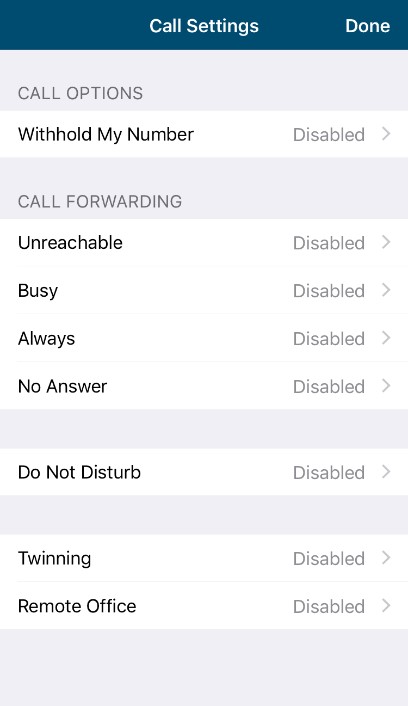
The following settings are explained in detail in the next sections:
- Withhold my number
- Call forward unreachable
- Call forward busy
- Call forward always
- Do not disturb
- Twinning
- Remote office
Withhold My Number #
 To amend tap ‘Withhold My Number’ from the call settings menu and select whether you’d like to enable/disable the feature.
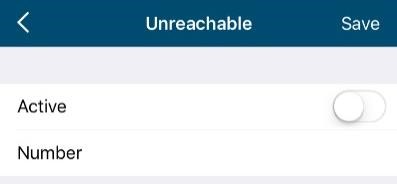
Call Forwarding – Unreachable #
To amend tap ‘Unreachable’ from the Call Forwarding sub menu and select whether you’d like to enable/disable and enter the ‘forward to’ number
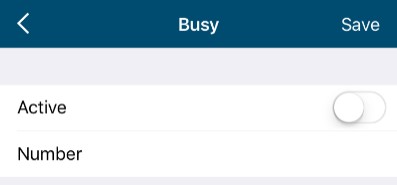
Call Forwarding – Busy #
To amend tap ‘Busy’ from the Call Forwarding sub menu and select whether you’d like to enable/disable and enter the ‘forward to’ number
Call Forwarding – Always #
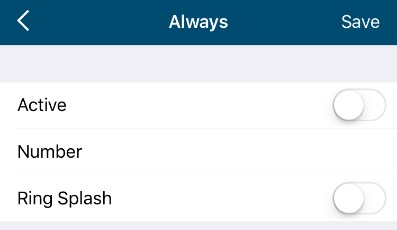
To amend tap ‘Always’ from the Call Forwarding sub menu and select whether you’d like to enable/disable and enter the ‘forward to’ number
Ring Splash is not supported on this version
Call Forwarding – No Answer #
To amend tap ‘No Answer’ from the Call Forwarding sub menu and select whether you’d like to enable/disable and enter the ‘forward to’ number.
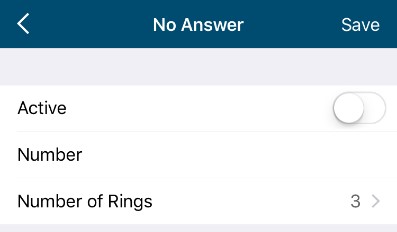
Then set the ‘Number of Rings’ parameter before the call is forward.
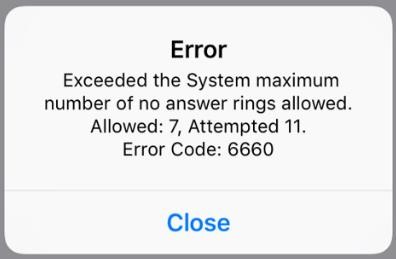
The App will offer the option to set this parameter up to 20 rings but Horizon only supports a maximum of 7 rings before diverting the call. If a number higher that 7 is selected you will received this error message:
Do Not Disturb #
To amend tap ‘Do not disturb’ from the call settings menu and select whether you’d like to enable/disable.
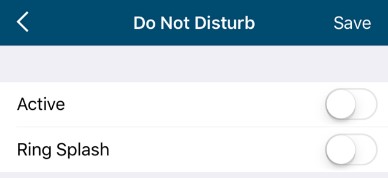
Ring Splash is not supported on this version
Twinning #
To amend, tap ‘Twinning’ from the settings menu. You’ll then be presented with a list of ‘locations’ – these are the numbers you’d like to twin your Horizon number with.
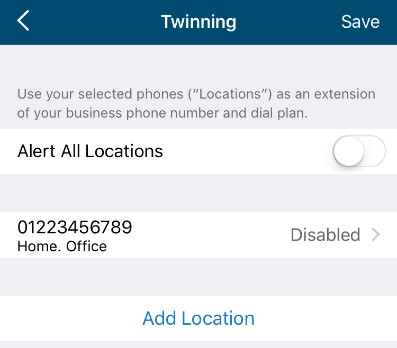
On the Twinning page you can select to activate either all locations – or a combination of one or more as required.
To add a new location tap the ‘Add Location’ then enter a number and description.

If the location is not set to active then it will not be alerted as part of the ‘Alert All Locations’
The Call Control, Prevent Diverting Calls and Answer Confirmation options are not supported on this version.
Remote Office #
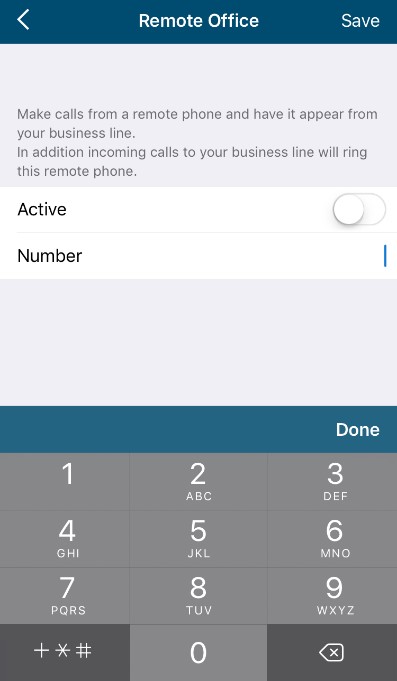
To amend, tap ‘Remote office’ from the settings menu and select whether you’d like to enable/disable and enter the number you’d like to use for Remote Office.
Troubleshooting #
Mobile Data Access #
While we have found the client works over mobile networks, we are not in a position to provide support for this due to the Mobile provider’s individual network configurations.
Logging #

If you experience an issue with the iOS client your Administrator may request that you turn on the following from the logging menu above:
- Console logging
- File logging
- XMPP logging
- Other logging
- PN Logging
They will then request you replicate the issue you are experiencing and then e-mail the logs by tapping ‘Email logs’. This will assist with the swift diagnosis of any issues you may experience.