
Introduction #
The call recording portal offers different levels of access to cater for the needs of the business. From this portal you can view, stream and download calls along with many more features.
Sign In #
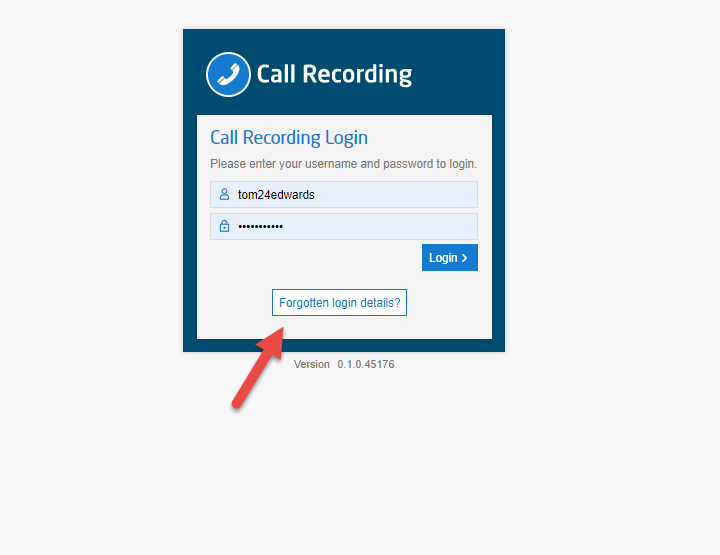
Once you have been set up as a user of the call recording portal you will receive two emails, the first will be with your username, and the second will have a temporary password that you will need to change on your first login.
This password is only valid for 60 minutes. Should the password expire then you can easily reset this yourself. Click on the link to access the call recording portal and then use the “Forgotten login details” button to request a link to reset your password. If you are unable to complete this action, then please raise the request to your Global user (more information on User Policies is here) and they will be able to manually resend the password like from the portal.
Welcome Tour #
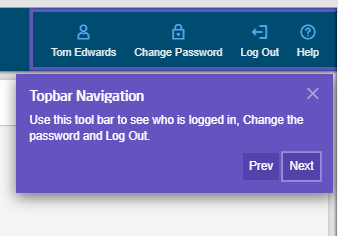
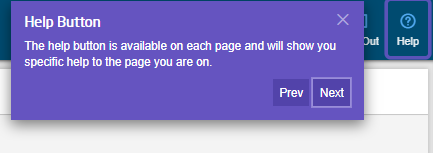
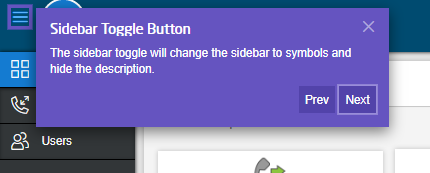
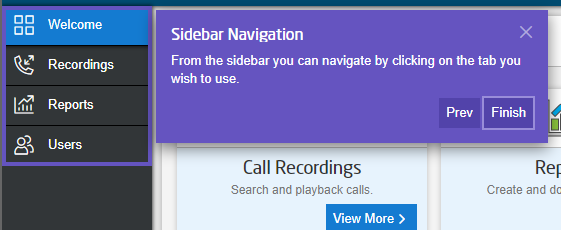
On entering the call recording portal for the first time you will be met will a virtual tour of the tools and features that can be accessed from the landing page.
Note that this will only appear on your first login.
Screenshots of the welcome tour:

Landing Page #
From the landing page you are able to see three areas depending on your policy. For policy information please click here.
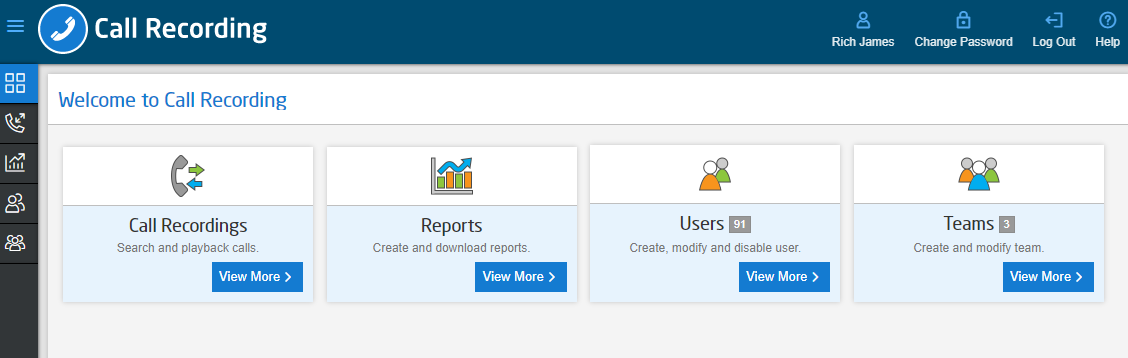
Call Recordings – By clicking View More you will be taken to a list of all the call recordings. From here you can view, stream or download the recording.
Reports -By clicking view more you will be able to create and download Audit and Call Recording Detail reports.
Users – By clicking view more you will be able to modify, create or disable users. Again, this is policy-dependent so not all users will have access to this.
Teams- By clicking view more you will be able to create, modify or disable users within a team. This is policy-dependent so not all users have access to this.
Users #
From the users tab you can manage who can have access to the platform and also what they can see and do.
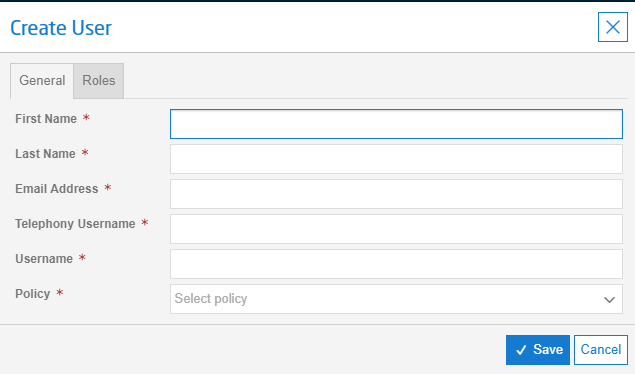
To create a new user head over to the Users tab and click the create user button.
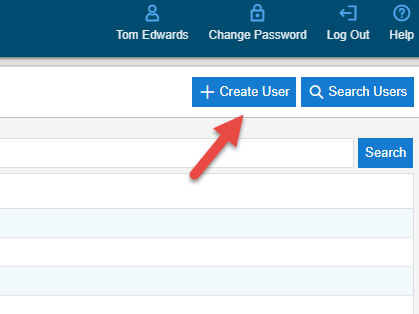
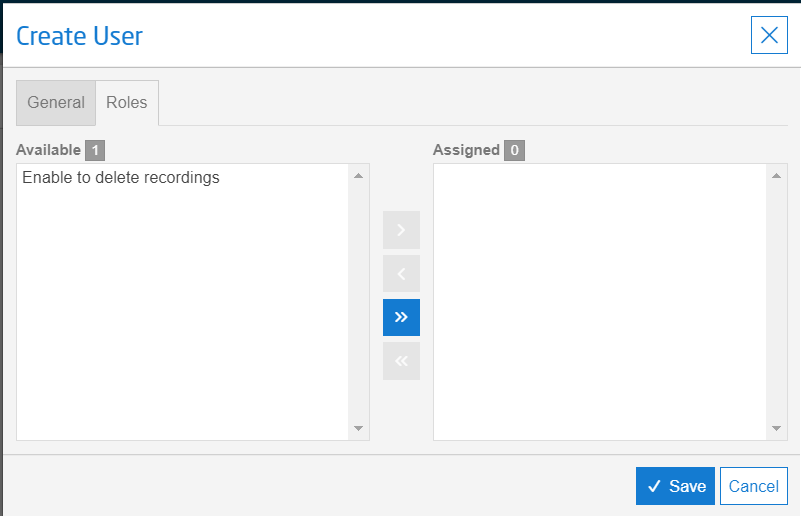
From here you will be presented with the below form. Please fill in all the details and give the user the correct policy. For more information on the policies click here.
Telephony username is very important and can be found within the Unlimited Horizon portal. If you don’t have this, please contact your reseller.
After completing the form and clicking save, two emails will be generated to the user with login credentials. The temporary password will expire after 60 minutes, if it expires they can use the “Forgotten Password” button to get a new password.
Click here for information about the policies.
Call Recordings #
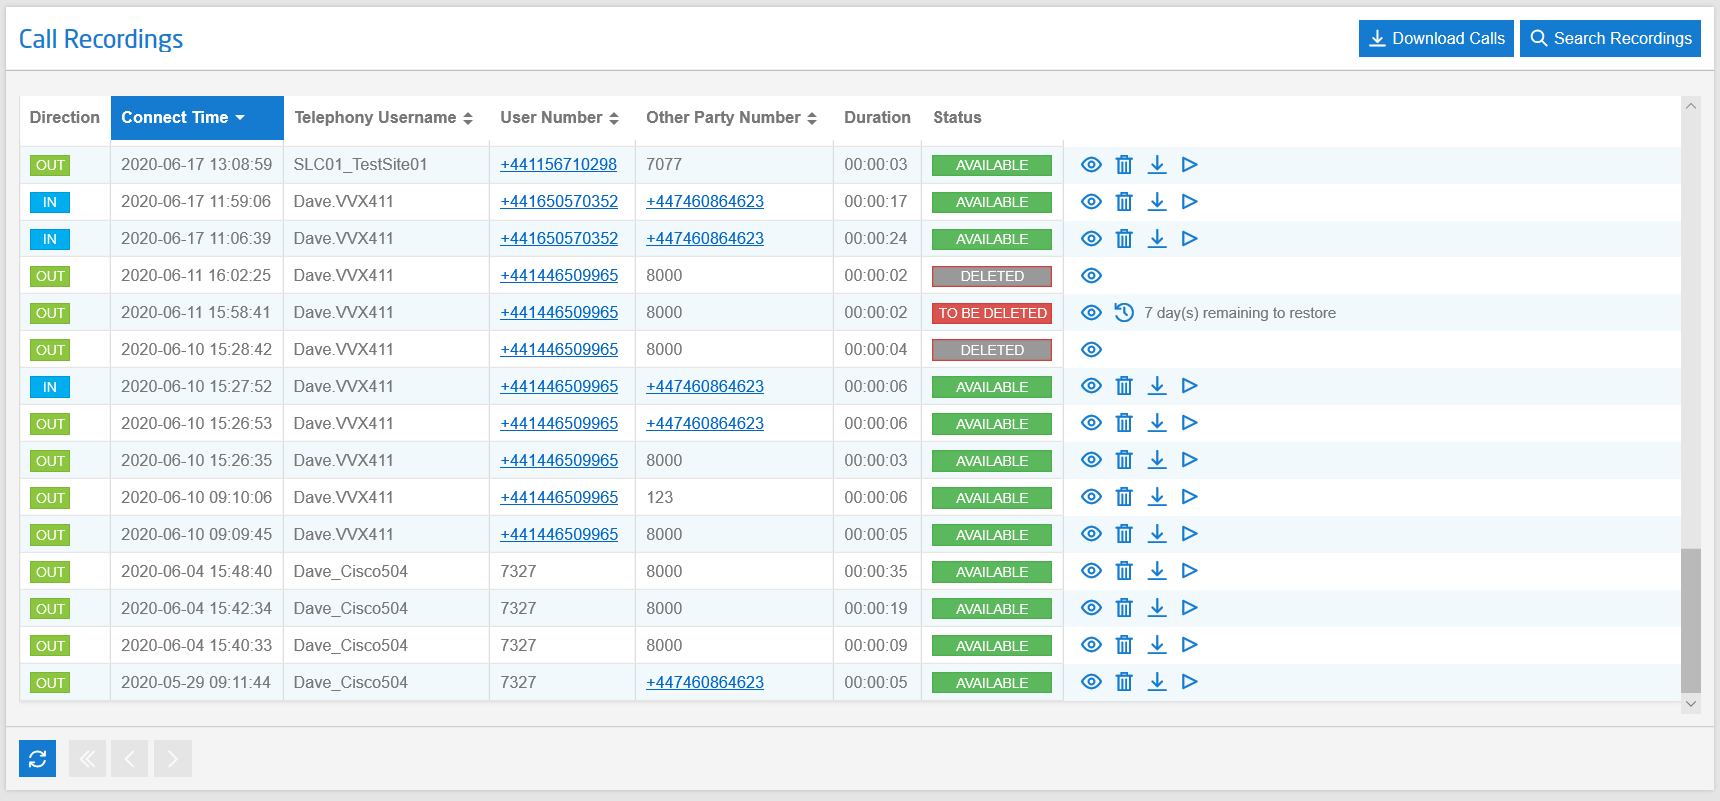
As soon as users have been enabled for call recording by the telephony system their calls will start to show within the call recordings section. After selecting the call recordings tab you will be presented with the below table. From here there are 4 main actions you can complete; they are as follows
![]() View – This will allow you to get a detailed view of the call and playback in a modal window.
View – This will allow you to get a detailed view of the call and playback in a modal window.
![]()
![]() Delete / Restore – This will allow you to select and delete or restore (for a limited period) an individual recording.
Delete / Restore – This will allow you to select and delete or restore (for a limited period) an individual recording.
![]() Download – This will allow you to download the single call in the web browser.
Download – This will allow you to download the single call in the web browser.
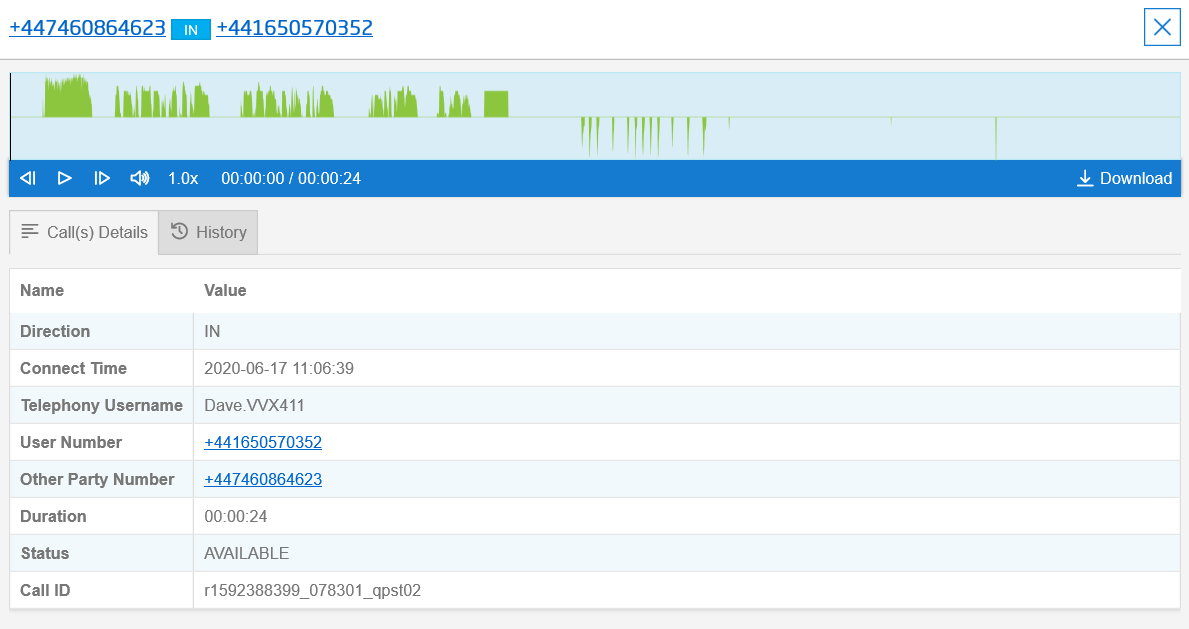
 Playback – This will allow you to playback the call and see the visual call flow.
Bulk Download
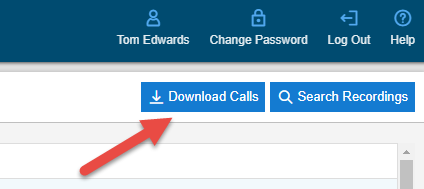
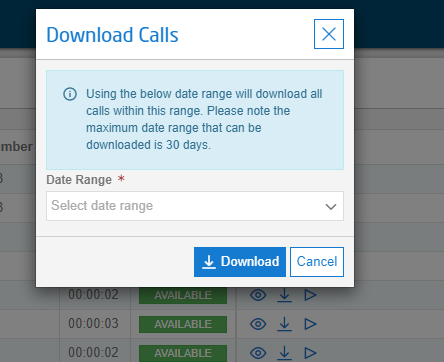
To download calls in bulk you will need to use the Download Calls button located next to the search recordings icon. On clicking this you can set your date range to download. Please note that this is limited to a maximum of 30 days.
Once you have clicked download your calls will be processed, please note that this may take a few minutes. Once completed these will be presented in the browser in a zip file.
View Recording screenshot
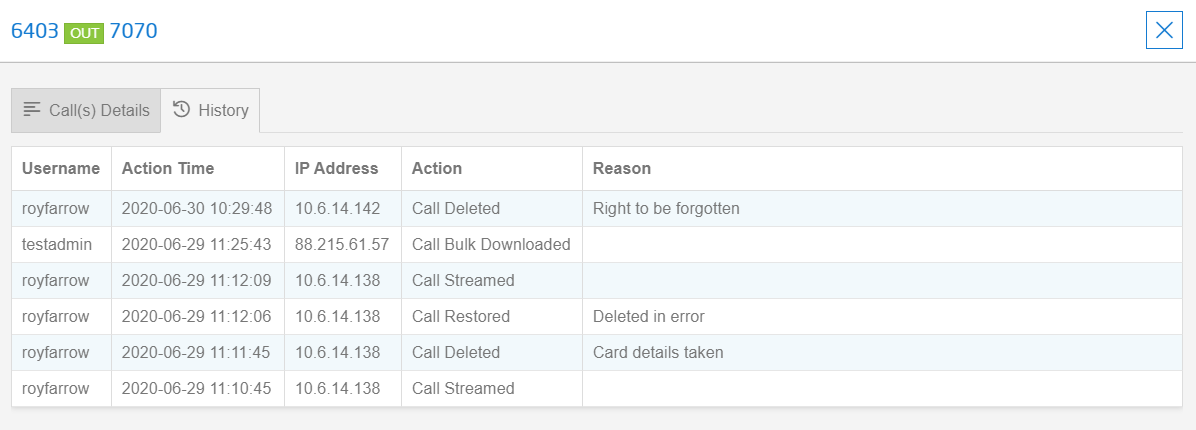
Recording Audit History Tab
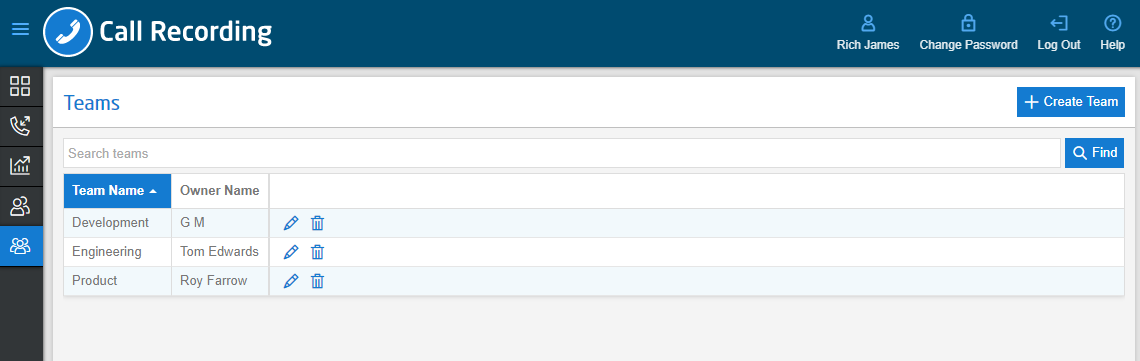
Teams #
From the Teams tab you can manage which Team users have access to the platform and also see Team members recordings.
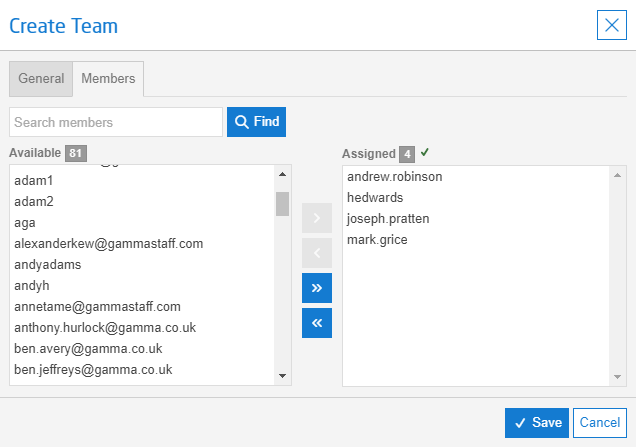
To create a new team head over to the Teams tab and click the Create Team user button.
|
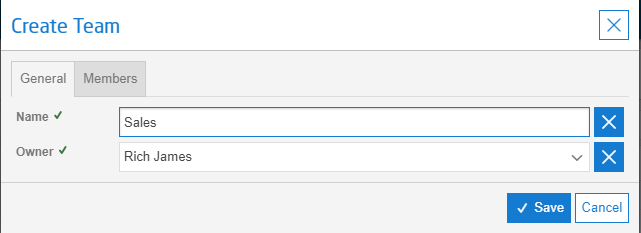
Teams can be given a unique name and the Owner of the team selected.
If the user is not appearing in the “owner” list it means that they are not set up as a Team user
|
“Available” window presents the users available to be added within the company
Select the users and then click the arrow to move them to assigned. Users that are already assigned to one team cannot be assigned to another team at this time.
Clicking the double arrows will move everyone from the Available or Assigned panel into the opposite panel.
You can also press “Ctrl” and then click on multiple users before you click on the arrow to move across.
Once you are ready, click “Save” and your team is created! You can modify the Team at any time by clicking on the Edit button.
Viewing Call Recordings as a “Team User” #
Please note when you are logged in as a Team User, you will only be able to see calls from users that are assigned to your Team by the Global User.
However, you can be an Owner of multiple teams and, if so, you can filter on which team you want to search for by using the “Team” filter within Search Recordings.
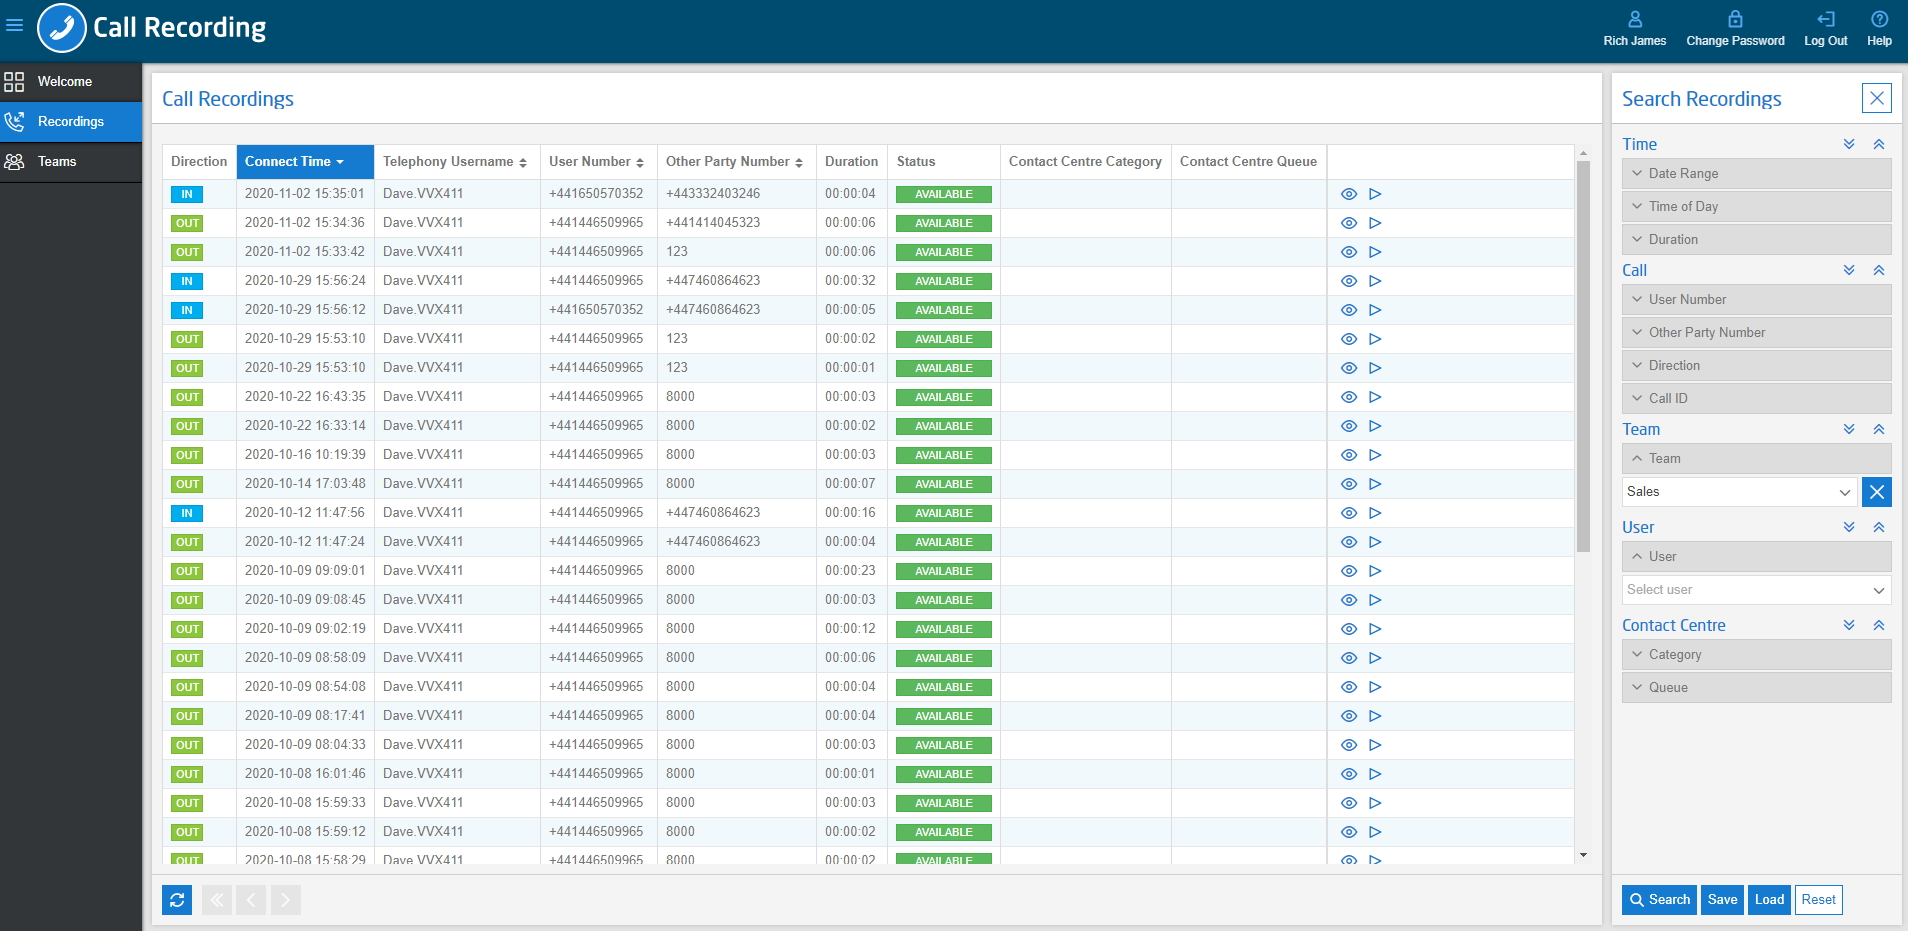
When using the “Team” filter, you can then select the user from that team using the “User” drop-down as well.
Check Who is in my Team #
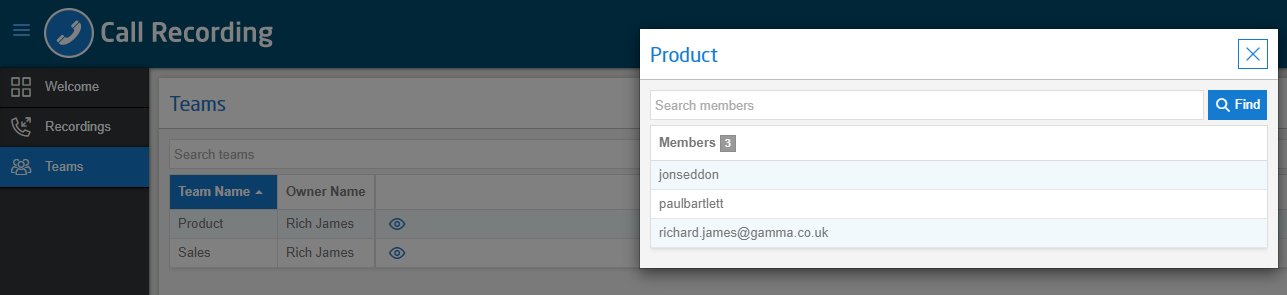
As a Team User, you can see all the users that a Global User has assigned to you by selecting the “Teams” icon in the left-hand menu and then clicking the eye icon next to the team. This will then load up a new window which will let you know all the users within your team.
If this is incorrect, contact your Global User who will be able to add and remove users as required.
Call Search #
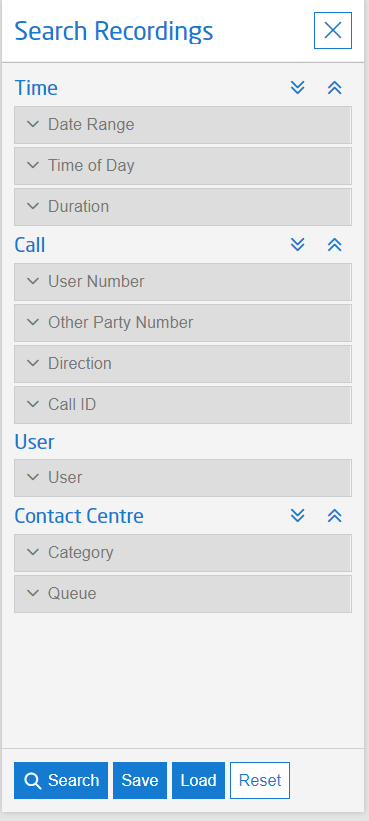
There is a call search located on the right-hand side of the page. From here you can use the pre-programmed search criteria or custom your own search criteria.
For those complex searches that you may use frequently you can use the save function that will save the search locally for you. If you want to deploy the search then just click load and click the tick followed by search.
You can search on the below criteria
- Time
- Date
- Call Duration
- Number
- Call Direction
- Call ID
- User
Reports #
Reports can be run by clicking the report tab and then selecting the report you need to run. If you are a Global user you will have permission to run both reports whereas a Team user can only run the call recording details report.
Audit Report #
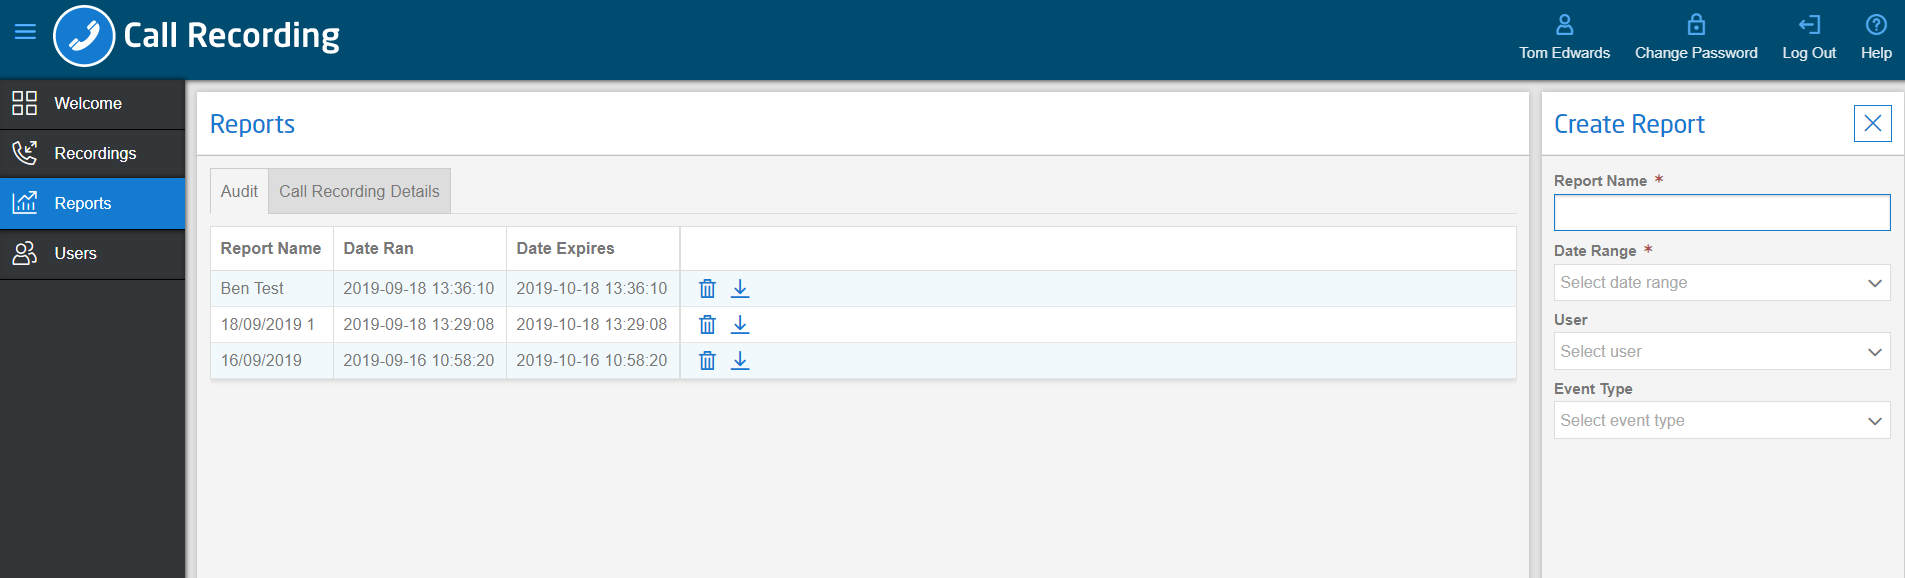 Select reports then select the Audit tab. On the right you will need to enter a report name and also a date range. Please note that the maximum date range that a report can cover is 30 days. You can then either select a user or leave this blank to run for all users, then you can select an event type or again leave blank to run for all events. Once done click the run button and the report will be stored and also downloaded in the browser for you.
The fields of an audit report are defined below:
| Column Name | Description |
|---|---|
Action | The type of audit event: LoginAdd User Delete User Recording Accessed (streamed or downloaded) Bulk Download Accessed Change Password Reset Password Add Policy Delete Policy Update User |
Portal User ID | The username of the user who performed the action |
Portal User/Call ID | This can be either: The username of the user who performed or was impacted by the action OR The Call-ID of the record that was accessed (streamed or downloaded) or bulk-downloaded |
IP | The IP address of the device. This is shown only for the actions Login and Recording Accessed |
Date & Time | Date and time of the audit event (i.e. of the action) |
Reason | Provides the reason details behind why a call recording has been deleted or restored |
Call Recording Details #
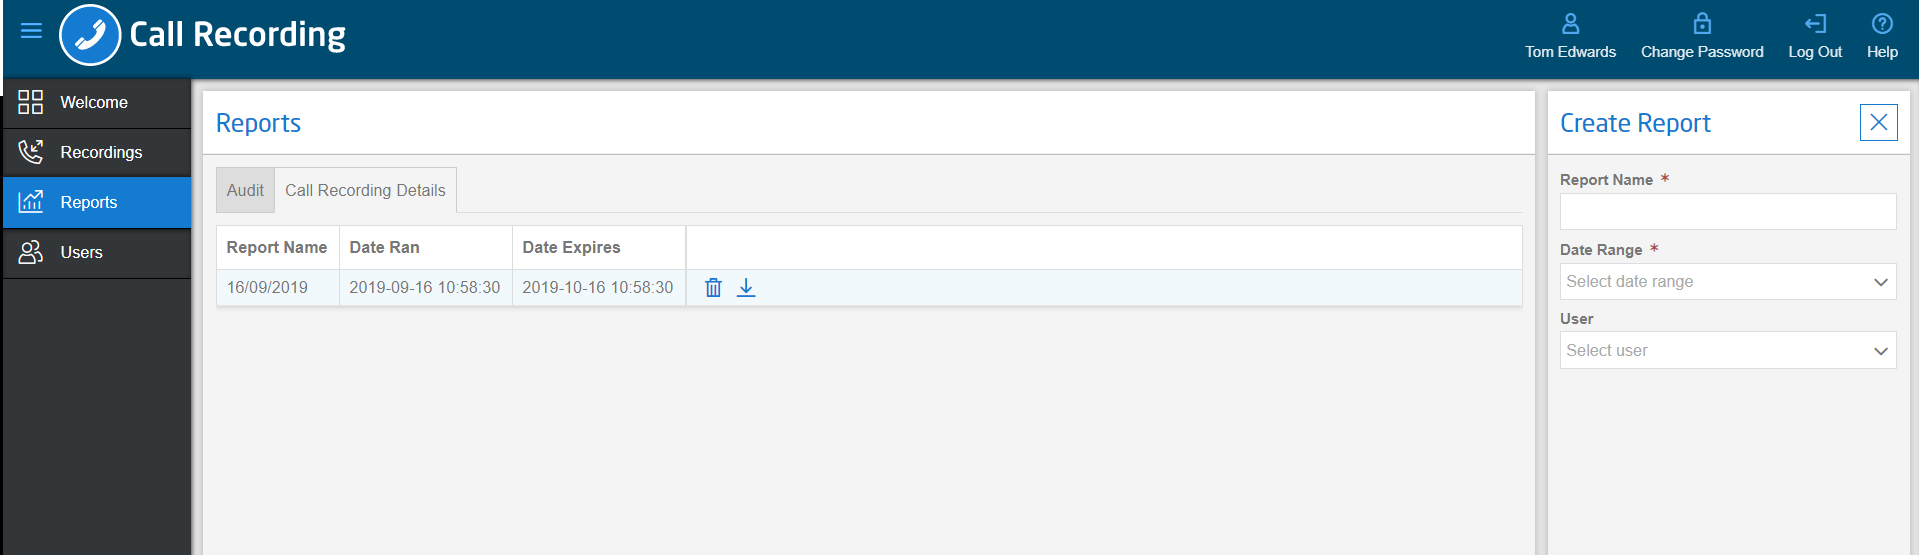
Select reports then select the Call recording details tab. On the right you will need to enter a report name and also a date range. Please note that the maximum date range that a report can cover is 30 days. You can then either select a user or leave this blank to run for all users. Once done click the run button and the report will be stored and also downloaded in the browser for you.
The fields of a Call Recording Details report are defined below:
Column Name | Description |
Call ID | The unique identifier of the call recording |
Other party | The telephone number of the other party on a call with the user |
User number | The telephone number of the user |
Telephony username | The unique username of the user |
Status | Status of the call recording file on the portal (A = Available, P = Processing) |
Direction | Call direction (I = Inbound, O = Outbound) |
Connect Time | Date and time of the call. Time is in UTC |
Duration | Call duration in seconds |
Retention period | How long the recording will be stored for, calculated from the day of the call |
Policy controls #
There are a number of different policies that can be applied to give users different levels of access.
If the user is reporting they cannot see certain calls then it would be a good starting point to check the policy that they have as this could be restricting their access.
Please use the below to see what controls are available for each policy.
Policy Name | Policy Access |
Global User | Global user access is the highest level of access and this user can access the main three areas of the interface. These are Recordings, Users, and Reporting. Within each of these sections, the global user has full write permissions. |
Team User | Support user access is used for anyone who isn’t in the end user’s organisation but may need access to help support. The support user access will show relevant information on the recordings and user tabs to help with any potential issues. There will be a reduced detail to comply with GDPR. You can create a support user directly from the interface or alternatively, you can use the Single sign on from the Gamma Portal. See more below on this tool. |
Staff User | Staff user access allows a user to see the recordings tab only and will only show them their own call recordings. This policy is aimed at staff who will need to listen to their calls for training and improvement purposes. They do not have access to the reports tab or the users tab. |
Support User | Support user access is used for anyone who isn’t in the end user’s organisation but may need access to help support. The support user access will show relevant information on the recordings and user tabs to help with any potential issues. There will be a reduced detail to comply with GDPR. You can create a support user directly from the interface or, alternatively, you can use the single-sign-on from the Gamma Portal. See more below on this tool. |
Policy control by feature #
Playback Calls
| Ability to playback recordings and change the playback speed | Y | Y |
(but just their own recordings) | N |
Delete / Restore a call recording file | Ability to delete or restore individual recordings and creation of reason within the Metadata | Y (By default for the 1st Global User created on the Company but then only by assigning the role to the user) |
(only by assignment) |
(only by assignment) |
(only by assignment) |
Download Call Recording | Ability to download call recording | Y | N | N | N |
| This is to allow the specific user access to look at the properties and history of a call but not allow them to playback the call. | Y | Y |
(but just their own recordings) | Y |
Run Report
| Ability to run reports from the reporting area of the call recoding portal | Y | N Y | N | N |
Create User
Assign roles | Ability to manage users from Creating to editing the user information. | Y | N | N | N |
Read Only Access to Users tab |
| N/A | Y | N | Y |
Single delete | Ability to delete a single call before the retention period is reached |
(Only automatically given to the first global user, need to be assigned to all other users) | Y | Y | Y |
Safe Metadata |
Safe Metadata is where the SSO user logs in and they see a restricted view of the Metadata so not exposing any personal information about the recordings and they shouldn’t be able to download or listen to the recording.
| N | N | N | Y |