
Cisco Handset Profile Rule #
Step 1
Use a Laptop/PC to connect to the handset using an Ethernet cable. Connect one end of the cable into your computer, and the other end into the SW port on the handset.
Step 2
Hand the handset go to the Menu and navigate to “Network”.
The first line should display the IP address of the handset. Enter this IP address into a web browser on your computer and press enter.
Step 3
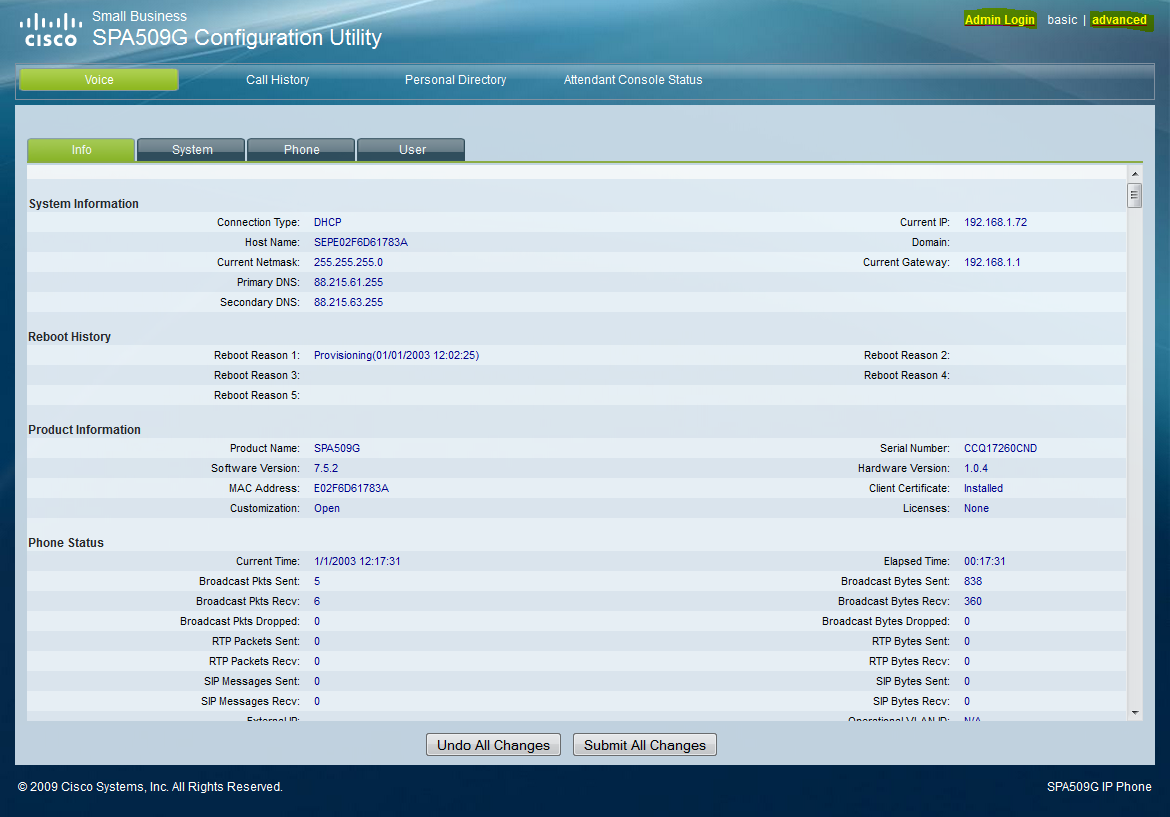
Click on “Admin Login”
Step 4
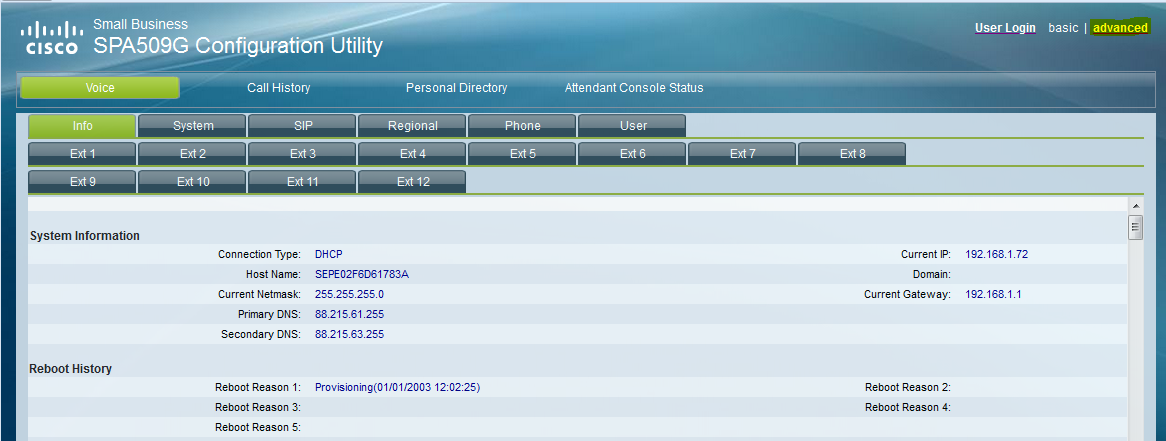
Click on “Advanced”.
Step 5
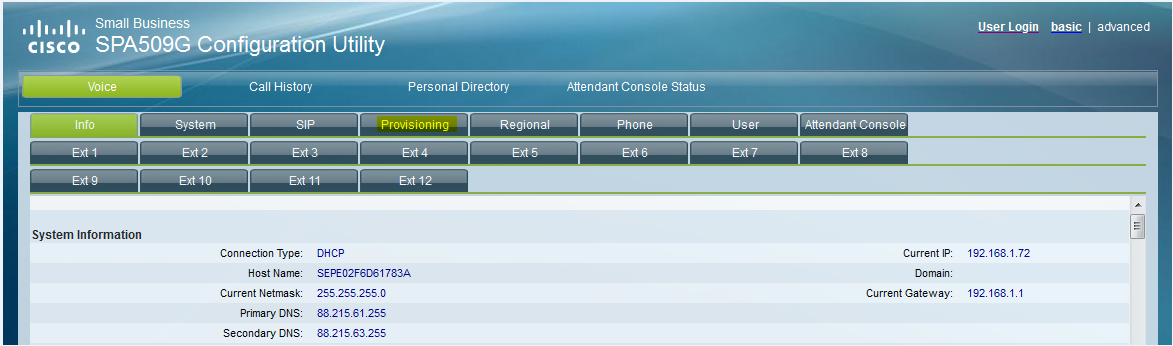
Click on “Provisioning”.
Step 6
This will take you to the screen where the profile URL needs to be checked.
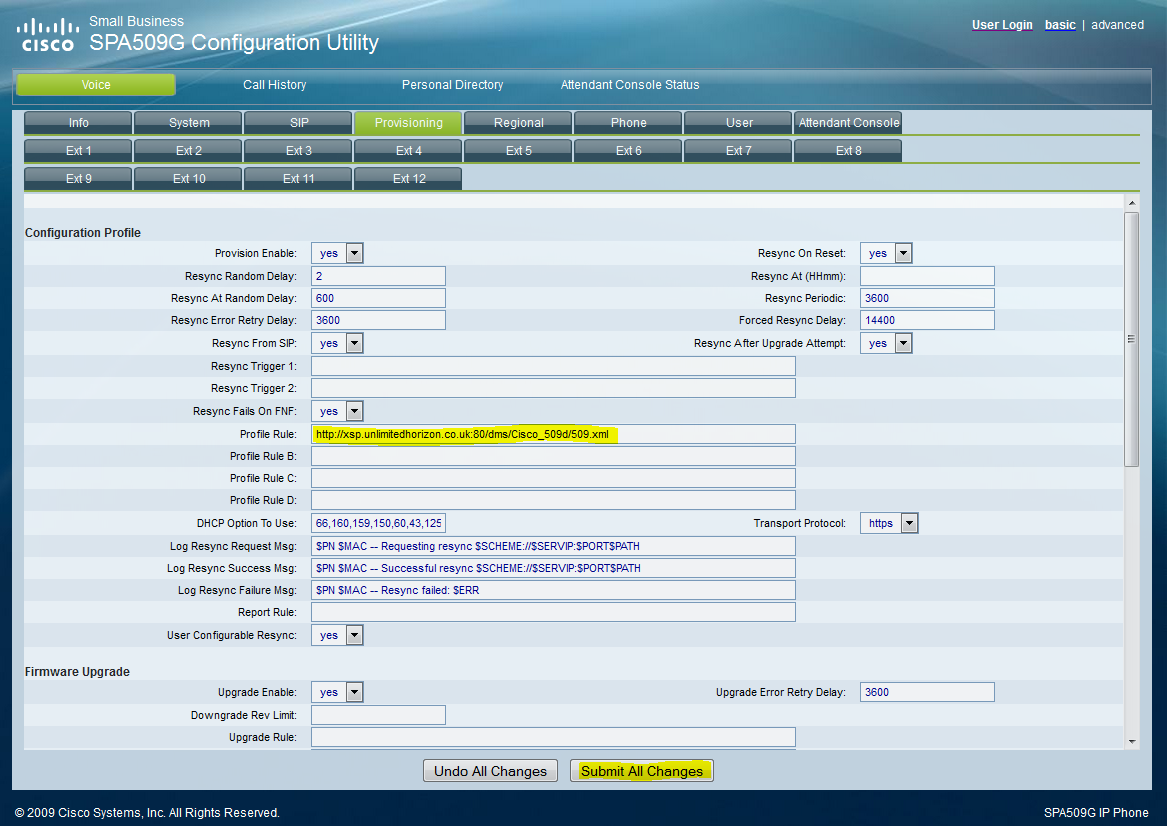
Below is the list of the profile URLs for Cisco handsets Gamma supplies. Check if the URL is correct, if it is not; replace it with the correct one. Then click on “Submit All Changes” and restart the phone by powering it down and back up.
Cisco SPA501 | |
Cisco SPA502 | |
Cisco SPA504 | |
Cisco SPA509 | |
Cisco SPA525 | |
Cisco MPP 8841 | |
Cisco MPP 8851 | |
Cisco MPP 8861 | |
Cicso MPP 7832 |
Following this process the phone will restart a number of times to complete the firmware upgrade, profile download and the initial registration. This takes around 15-20 minutes.
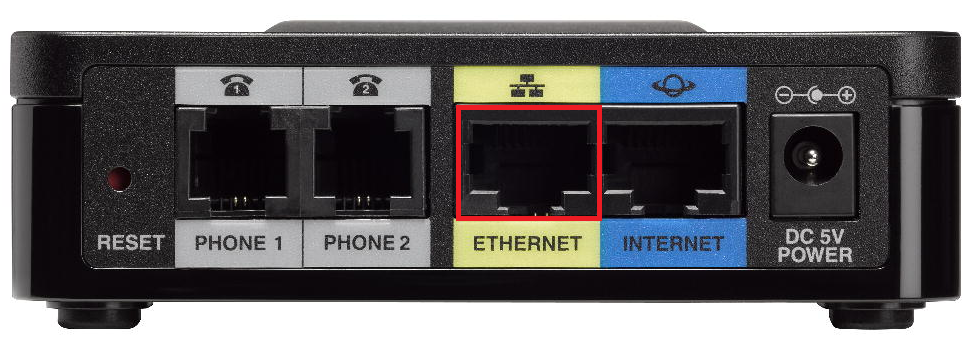
Cisco ATA Profile Rule #
Step 1
Use a Laptop/PC to connect to the ATA using an Ethernet cable. Connect one end of the cable into your computer, and the other end into the Ethernet Port on the ATA.
Step 2
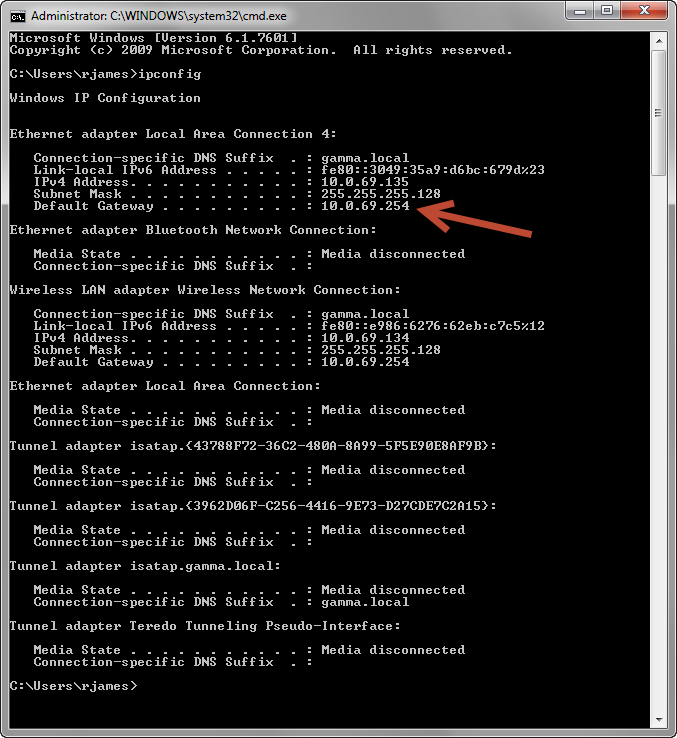
On the computer go to Start and Run. Type in “cmd” to load the Command Prompt.
Once the Command Prompt is loaded, type in “ipconfig” and hit enter.
Make a note of the default gateway of the Ethernet port.
Step 3
Load up your browser and enter the default gateway address into the address bar. Use the below credentials to log in:
Username: admin
Password: admin
Step 4
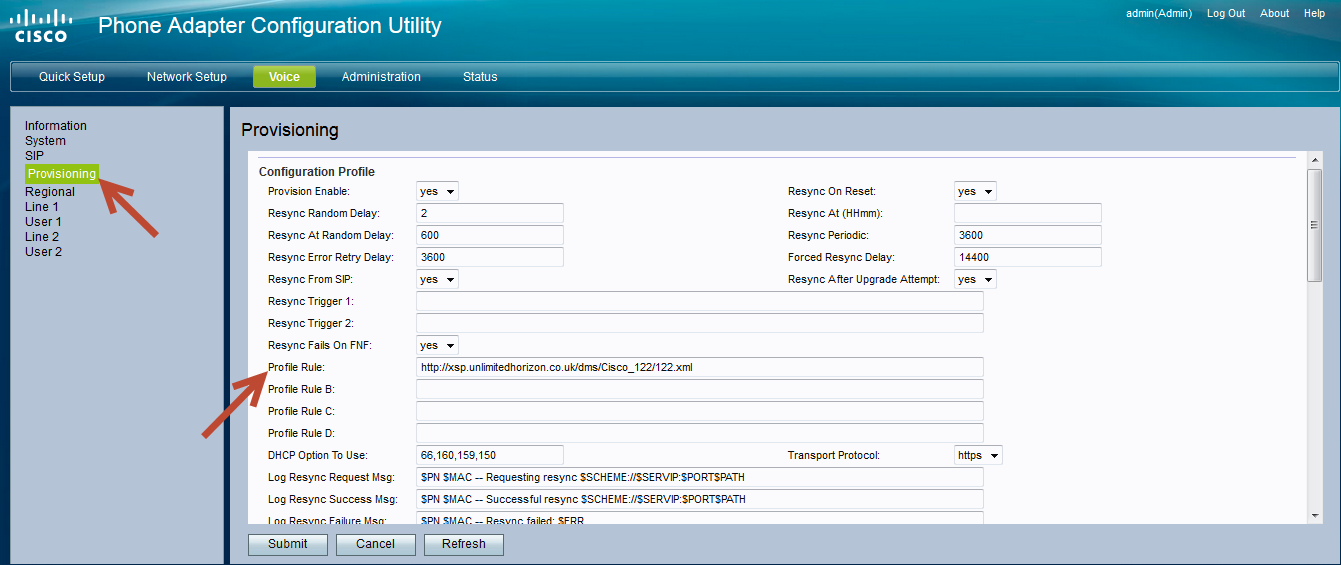
The Phone Adapter Configuration Utility window will load up. Click “Voice”.
Step 4
Select “Provisioning” and you will see the “Provisioning Rule”.
Check if the URL is correct in the “Profile Rule” field, if it is not; replace it with the correct one. Then click on “Submit”, and restart the ATA by powering it down and back up.
Cisco SPA122 | |
Cisco SPA232 | |
Cisco ATA 192 |
Following clicking “Submit” the ATA will restart a number of times to complete the firmware upgrade, profile download and the initial registration. This takes around 15-20 minutes
Cisco SOS Recovery Process #
If your Cisco handset experiences an interruption of power during a firmware upgrade then the firmware could be unusable. If this happens then the handset will display “SOS phone in recovery mode”.
The handset will automatically try to get a valid image from the last source that it can remember. You can however manually recover a handset from this stage using this recovery utility supported by Cisco.
This is Cisco software and Gamma has no input into this.
When the handset attempts to access the “last upgrade URL”, it will be unable to handle a recovery request from the PC. When the handset gives up, it will allow you to use the recovery utility successfully.
Step 1
Make sure the default TFTP port (69) is not occupied on the computer. For example, if you have a TFTP server such as Pumpkin or Solar Winds running, shut the TFTP service down.
Step 2
You might have to disable the firewall or other security measures on the PC to allow TFTP to function properly.
Step 3
Run the recovery utility and enter the handset’s serial number when prompted. You can use “FFFFFFFFFFFF” (12 ‘F’s) instead of the handset’s serial number.
Please click here to download the Cisco SPA50x recovery utility
Step 4
The recovery utility should find the handset in recovery mode. Follow the instructions on screen to start the recovery process.
Once the handset has recovered and rebooted, you can upgrade to the desired version of firmware.
